Select and Mask Workspace: Photoshop 2015.5
Adobe, Photoshop
Photoshop has continued to refine the selection tools available and the latest update, June 2016, is no exception.
Gone is the Refine Edge tool, or better yet, not gone but improved and placed in its own workspace.
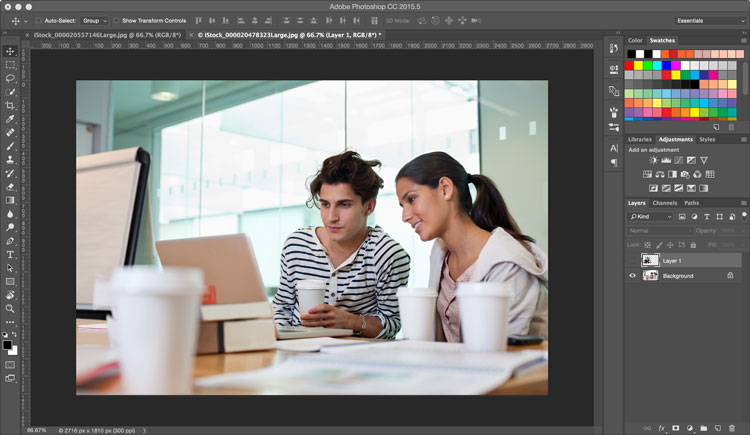

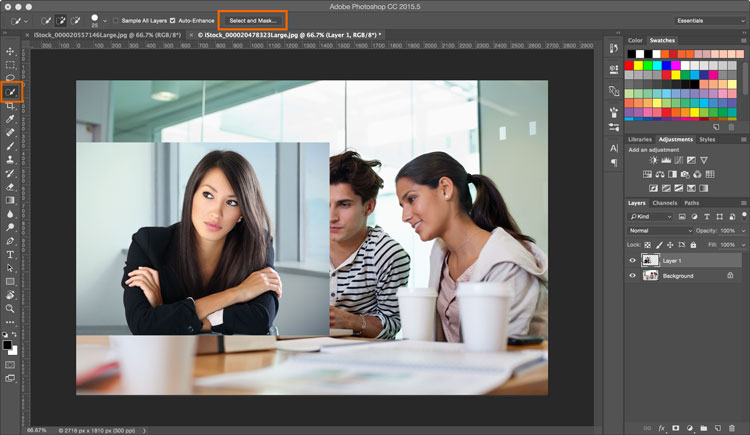
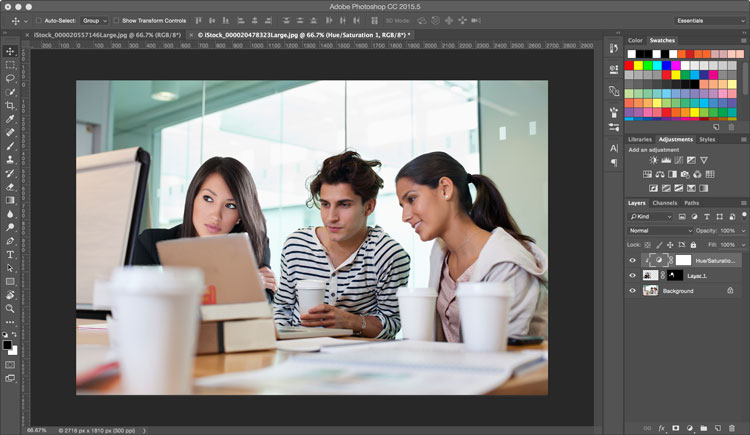
I have two images I would like to combine and masking out the unnecessary bits of the second image pictured is a simple task which has been made easier. Once photo number two has been added as a new layer to the first image and sized so our participants are approximately the same size we’ll choose the Quick Select tool. Notice there is a new choice in the Options bar, a button labeled Select and Mask.

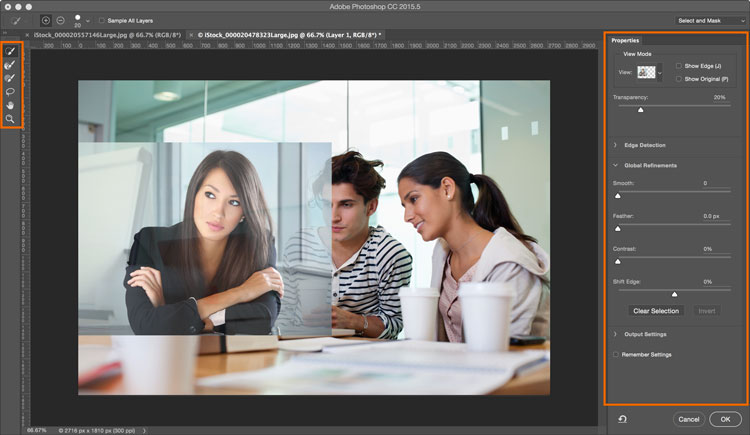
Clicking the Select and Mask Option takes us into a new workspace and lays out all of our tools in a new window. All the options you’ve used in the past with the Refine Edge tool are here and a few more. The View Mode now includes Onion Skin with a transparency setting that makes masking even easier than it used to be.
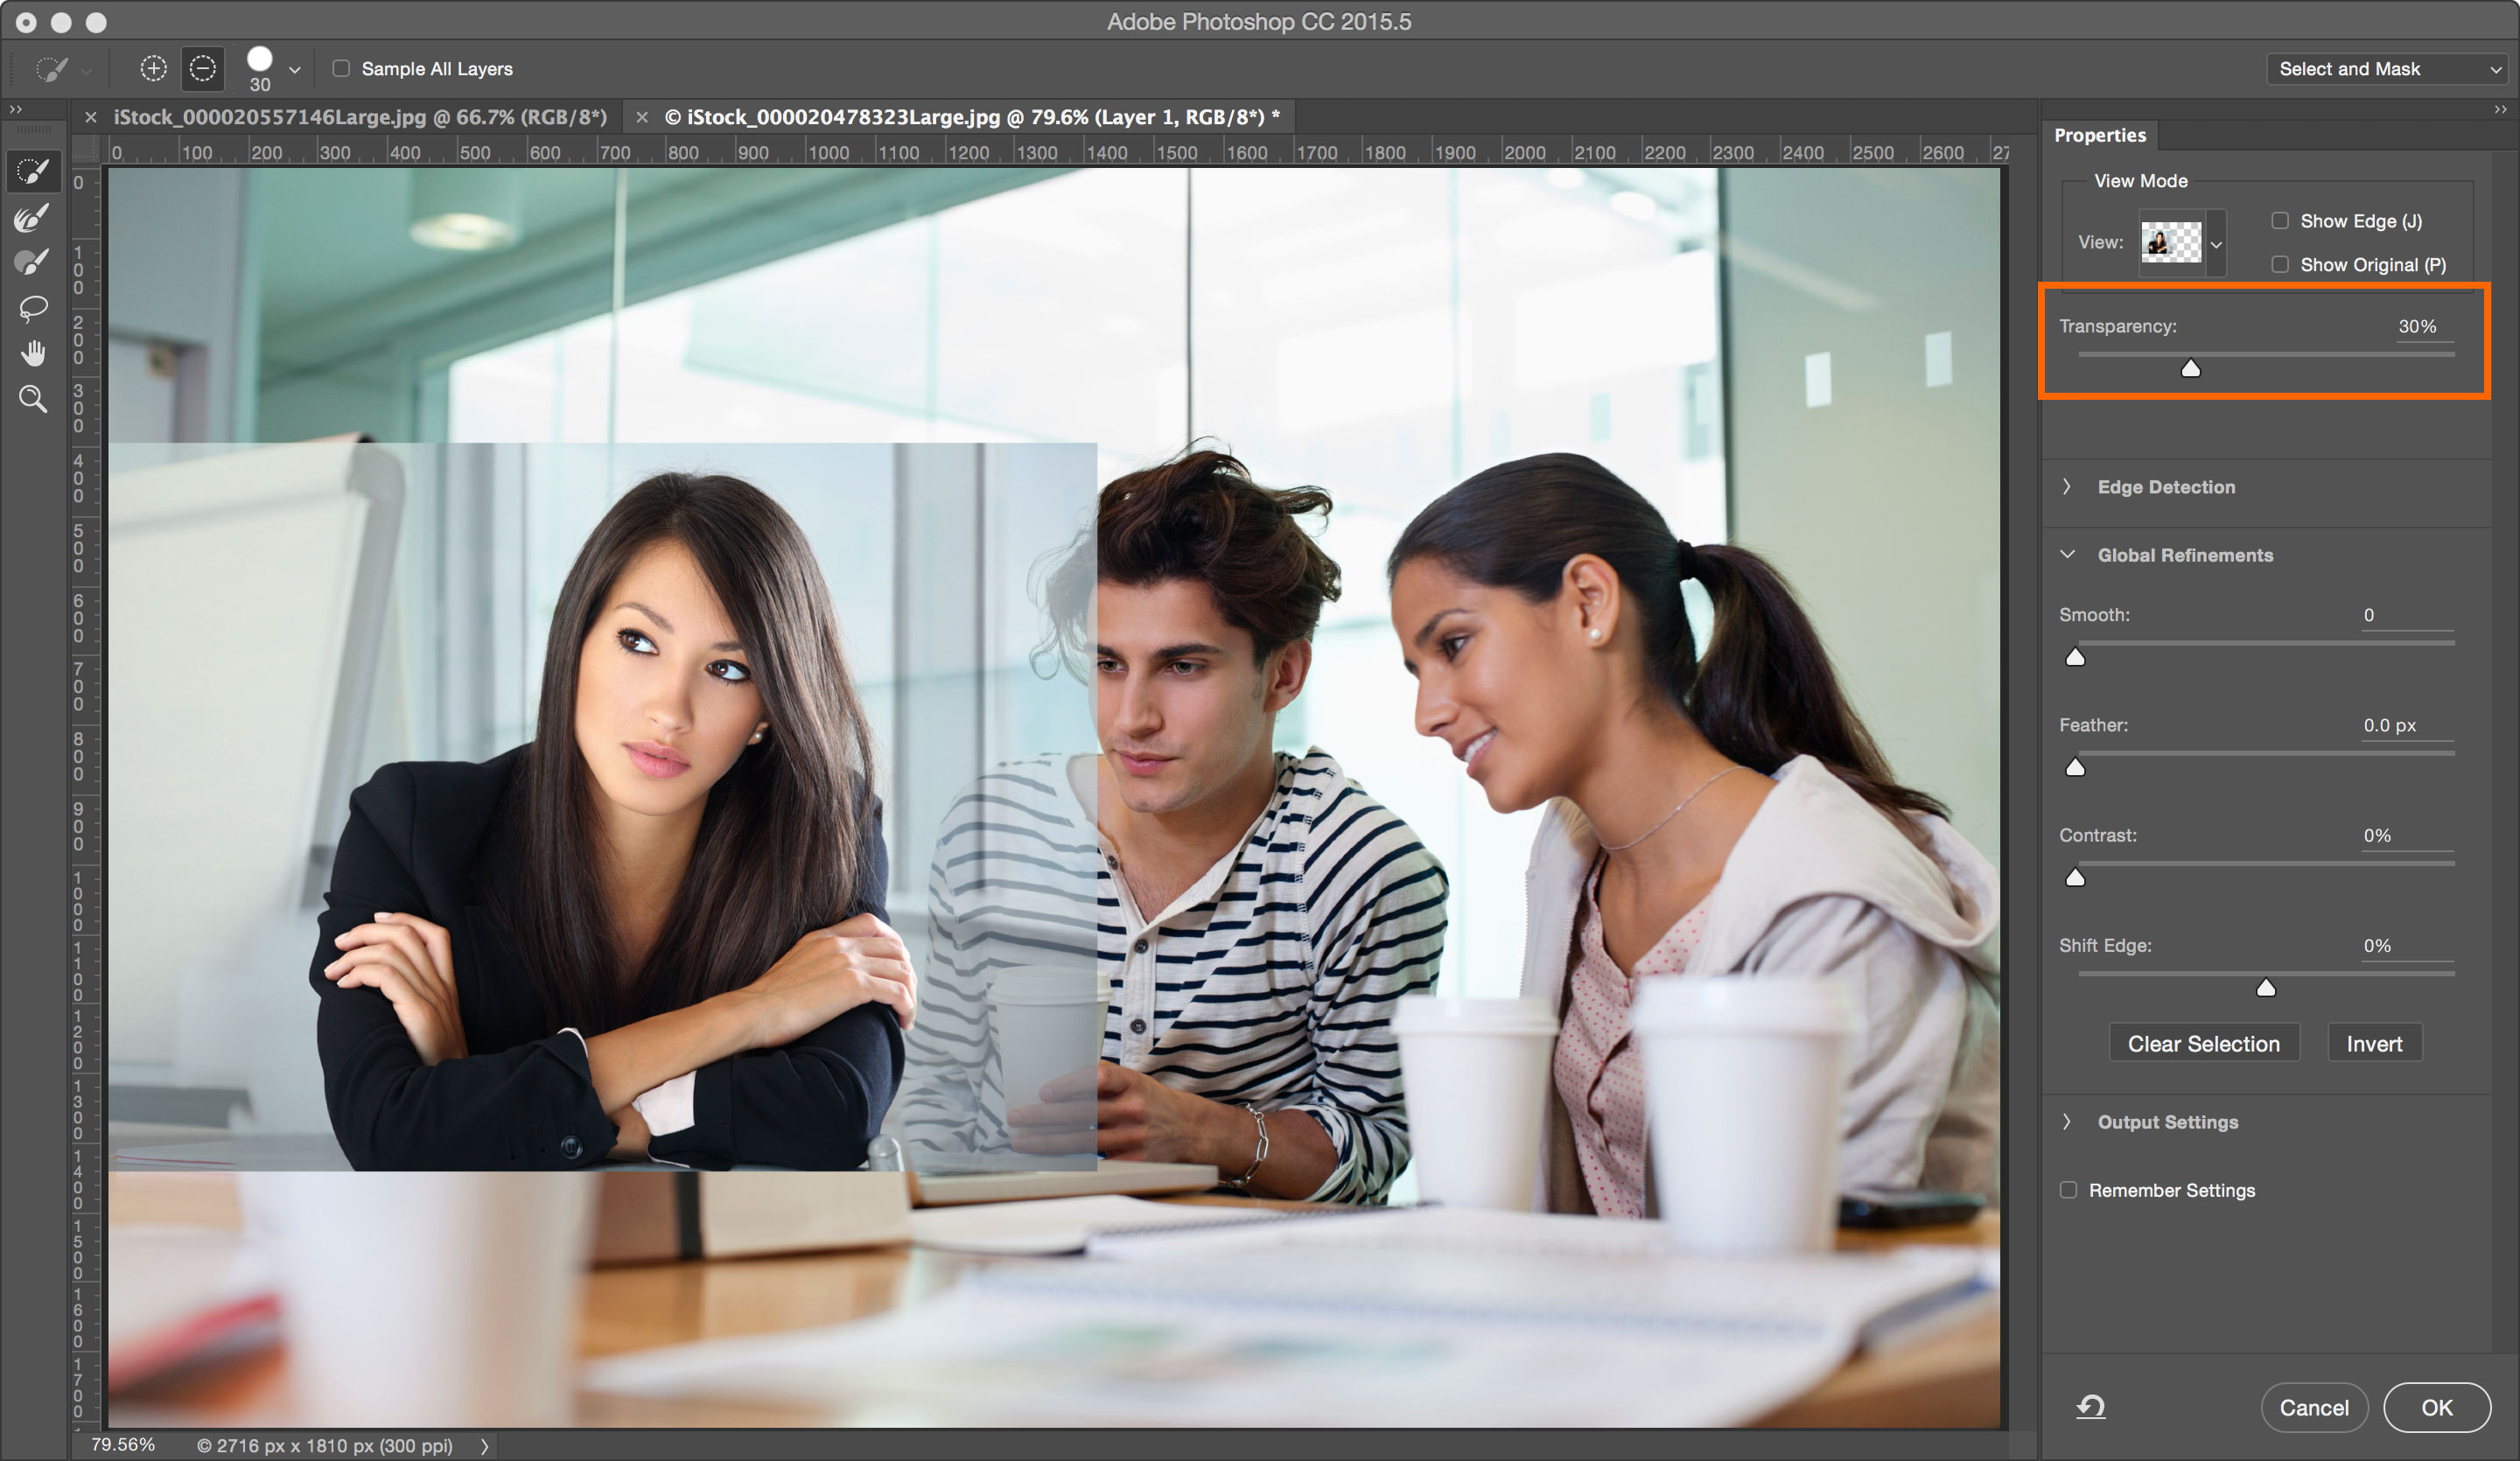
After all adjustments have been made clicking the OK button will apply the mask and return you your standard workspace.
I’ve seen a post or two on Adobe’s Community forum concerned that the Refine Edge tool was gone. Have no fear, it’s still there it has been renamed and resides in the Select and Mask workspace.