QlikView – Scheduled Update of QlikView Reports
Business Intelligence, QlikView
Suppose you want your QlikView report to automatically reload its data based on a schedule. The manual process would be for you to open the report, click the RELOAD button, and then close the file. If you team up the QlikView report with the Windows Scheduler, you can have this reload take place without human intervention.
Step 1 – Create a Batch File
Open Notepad and enter the following text:
— For users running the 64bit edition of QlikView —
“C:\Program Files\QlikView\QV.EXE” /R “C:\MyQVData\MyQVFile.qvw”
— For users running the 32bit edition of QlikView —
“C:\Program Files (x86)\QlikView\QV.EXE” /R “C:\MyQVData\MyQVFile.qvw”
(Change “C:\MyQVData\MyQVFile.qvw” to the location and name of your QlikView document)
For an explanation of the QlikView command line switches, see the end of this tutorial
Step 2 – Save the Batch File
Save the file in a location of your choosing with any name you wish. Make certain that the file extension is .BAT (NOT .TXT).
EX: C:\MyBatchFiles\QVUpdate.bat
Step 3 – Create a Schedule in Windows Scheduler
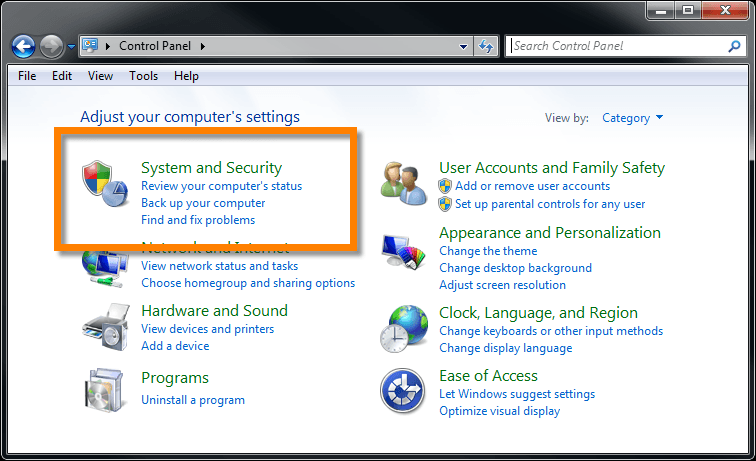
To open the Windows Scheduler, open the Windows Control Panel and select System and Security
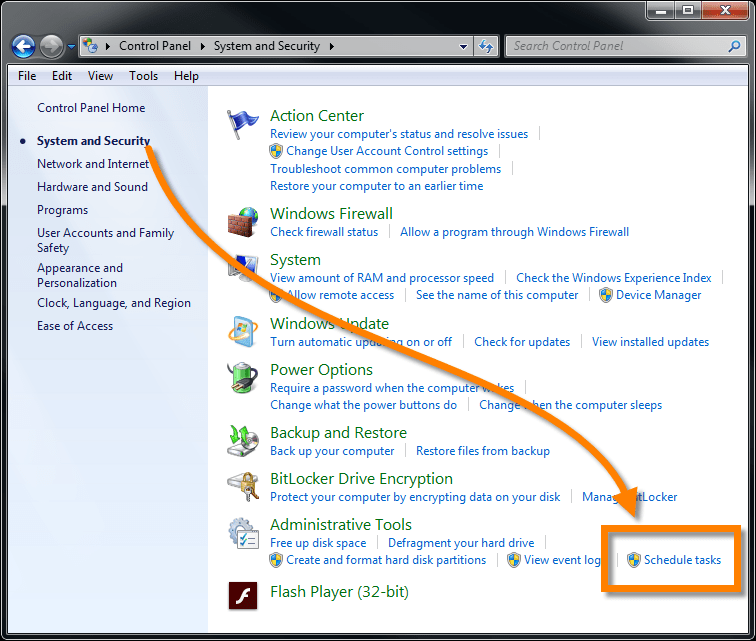
In the System and Security tools, select “Schedule Tasks” in the “Administrative Tools” section
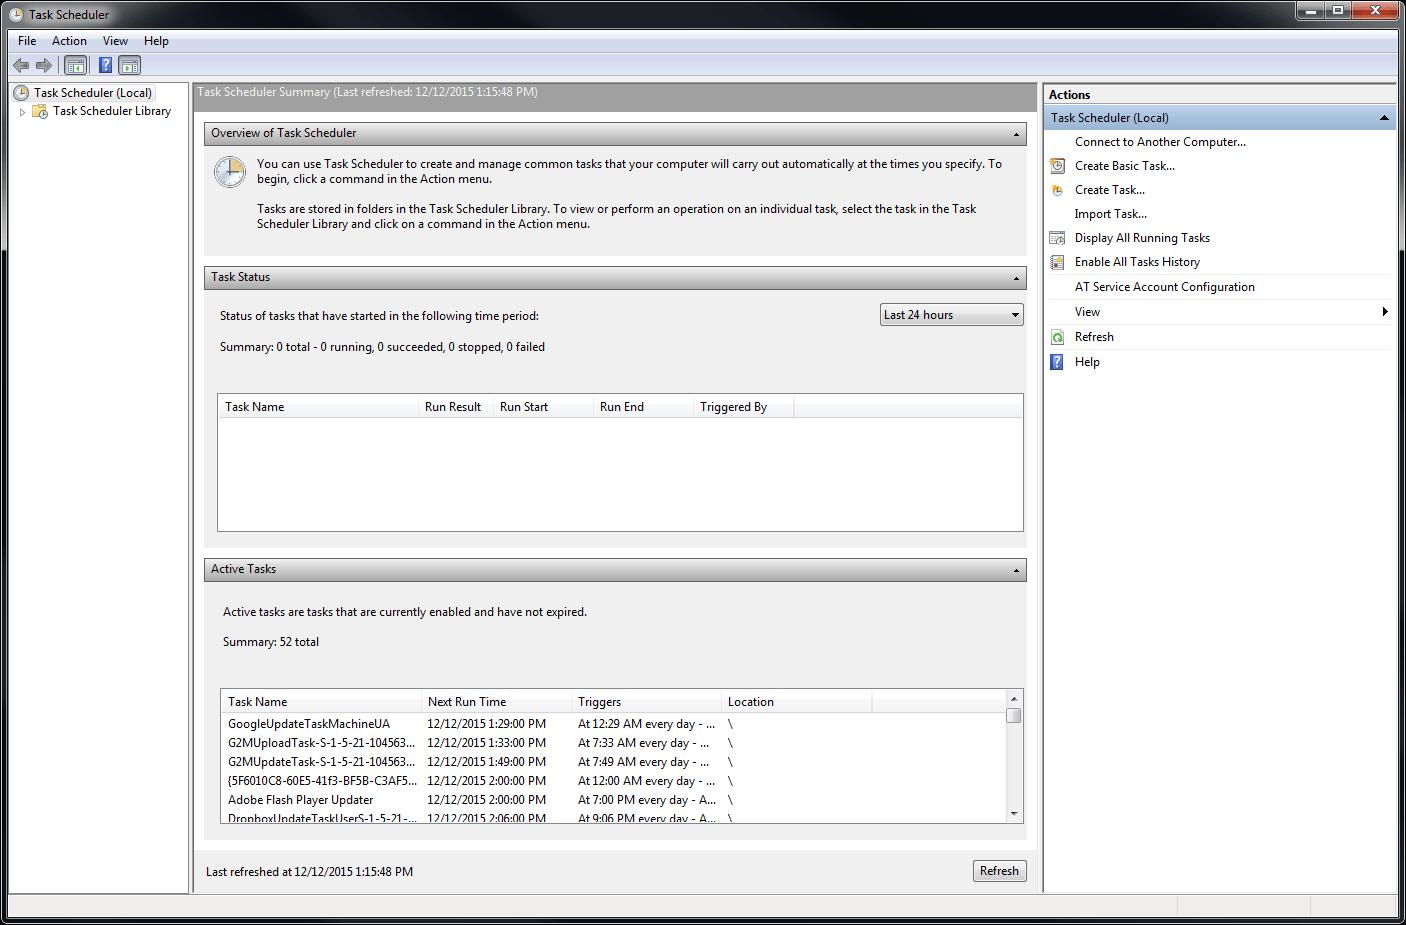
This will open the Task Scheduler.
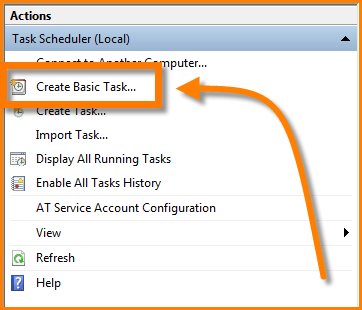
On the right side of the screen, in the Actions section, click “Create Basic Task…”
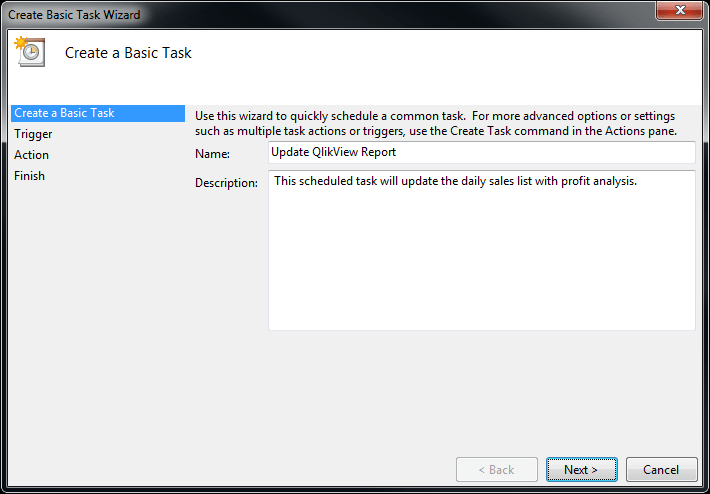
Create a Basic Task – Give the task a name (i.e. “Update QlikView Report”). The description is optional but often useful later when you’re trying to remember what this schedule is for.
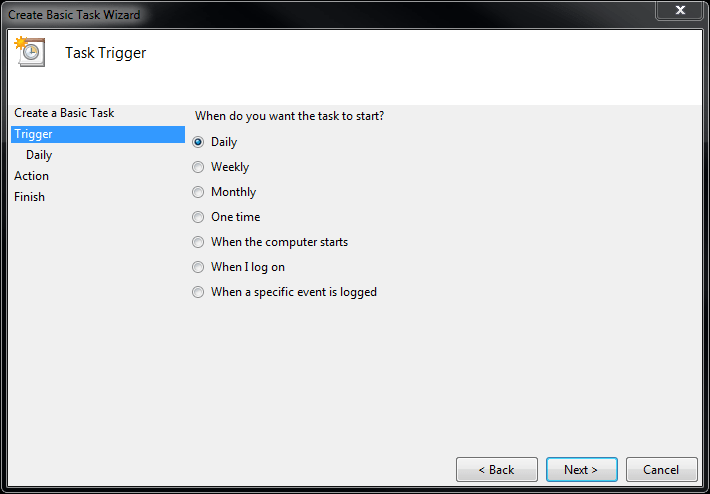
Task Trigger – Provide a schedule strategy (i.e. Daily, Weekly, Monthly, etc…) and click NEXT
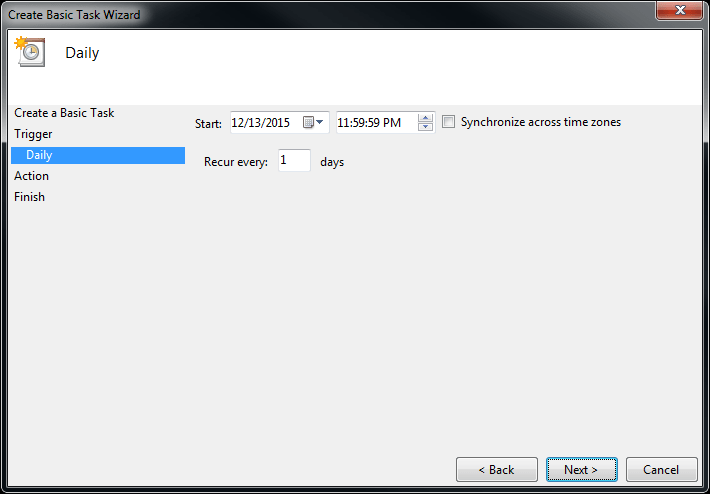
Provide any additional scheduling details to complete the schedule logic and click NEXT
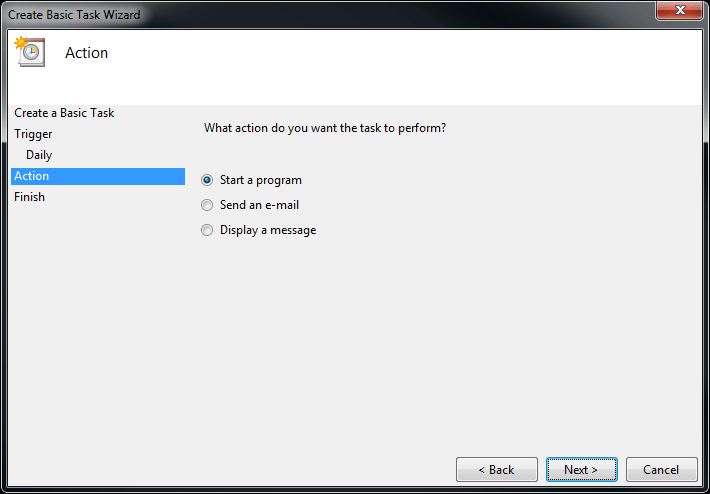
Action – Select “Start a program” and click NEXT
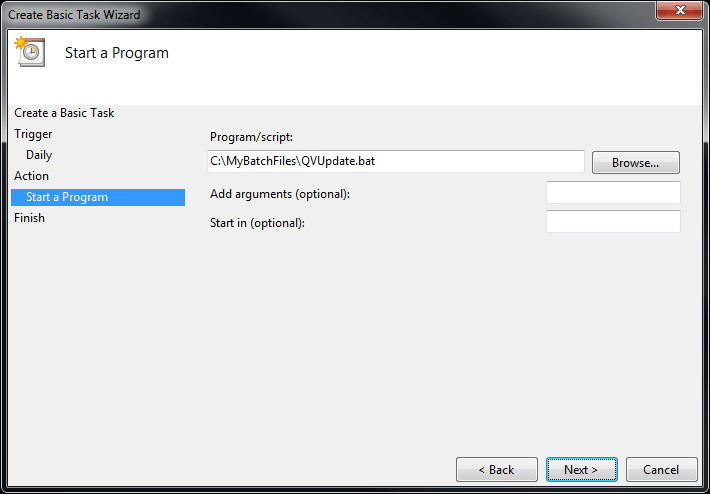
Start a Program – In the “Program/script” field, type or browse out to the batch file you created in Step 1 and click NEXT
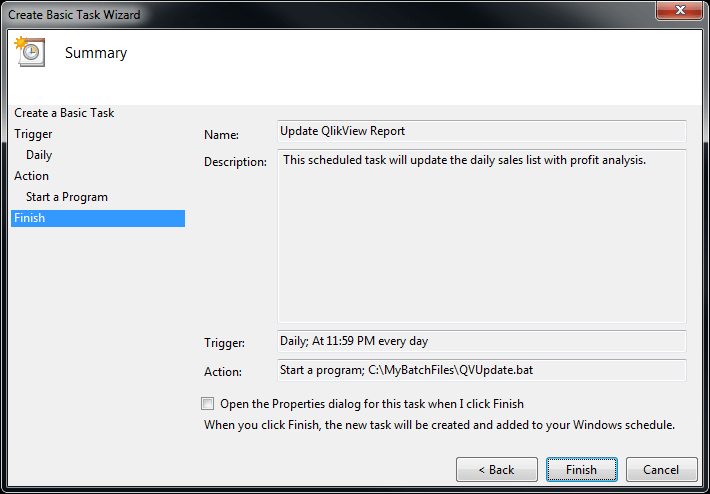
Summary – Review the summary information. If anything has been defined incorrectly, click the BACK button to update any of the previous selection. Click FINISH when done.
In the left panel of the Task Scheduler, click the entry labeled “Task Scheduler Library”. This will list all of your custom scheduled tasks.
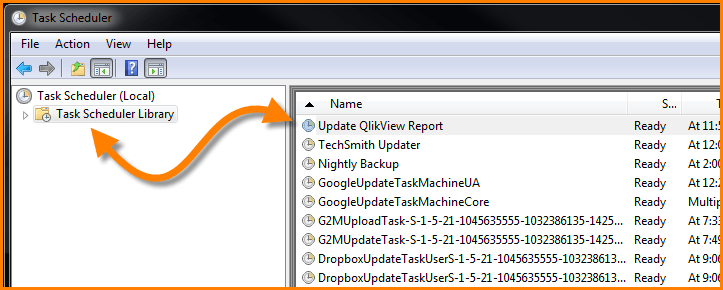
This is also where you can alter the logical parameters, such as the schedule, by right-clicking on the task and selecting Properties.
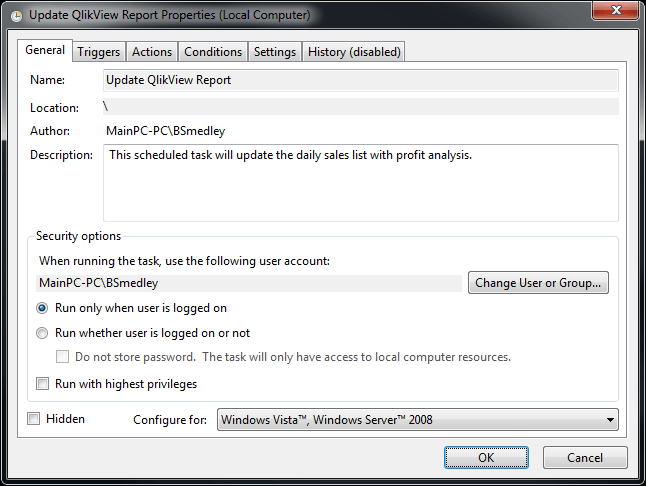
This will provide you with all of the options for changing the underlying logic of the task.
Step 4 – Suppressing the QlikView Progress Windows
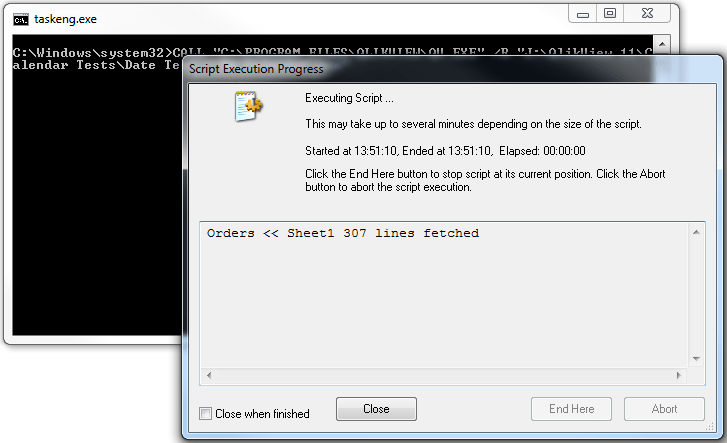
When the script executes and the QlikView report is updated, the default behavior of QlikView is to leave the Script Execution Progress window open after the reload has completed. This will cause the scheduled task to hang and not close completely.
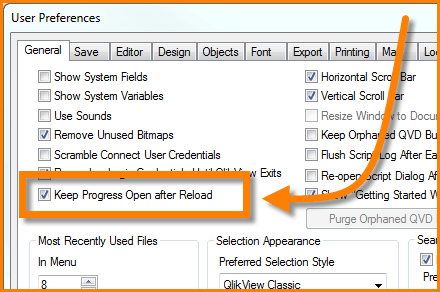
To prevent this from happening, open QlikView and access the User Preferences
On the General tab, uncheck the option labeled “Keep Progress Open after Reload”.
This will allow the scheduled task to open the QlikView file, reload the data, and close out completely.
QlikView Command Line Switches
/R
This switch will open the report, load the script, and close the report (assuming your progress window is not set to remain open, as was stated earlier in Step 4). Ex: “C:\Program Files\QlikView\QV.exe” /R “C:\My QV Data\Report1.qvw”
/RP
Performs the same operation as a /R switch but with a partial load. Ex: “C:\Program Files\QlikView\QV.exe” /RP “C:\My QV Data\Report1.qvw”
/L
This switch will open the report, load the script, and leave the report open for further processing and/or analysis. This is a convenient way to setup a Desktop shortcut for a specific report to reload when opened. Ex: “C:\Program Files\QlikView\QV.exe” /L “C:\My QV Data\Report1.qvw”
/P
Performs the same operation as a /L switch but with a partial load. Ex: “C:\Program Files\QlikView\QV.exe” /P “C:\My QV Data\Report1.qvw”
/V
This switch is used to allow the passing of variables into the report. This switch can be used alone or in conjunction with other switches defined above. Ex: If you were trying to pass the year 2014 into a parameter named “Year”, the command would appear as follows: “C:\Program Files\QlikView\QV.exe” /VYear=2014 “C:\My QV Data\Report1.qvw”
BONUS
In addition to standard DOS-style drive:folder\file location definition (i.e. C:\MyFiles\QVReport.qvw), UNC path names may be used (i.e. \\ProdServer\QVReports\Analysis.qvw)