Hardware and Technical Requirements
- Windows XP, Vista, 7 or Macintosh OS X 10.4 to 10.7.4 (PowerPC and Intel are both supported).
- Recommend at least 512 megabytes of RAM and 500 megabytes of free hard drive space for installation.
Software Requirements
Windows Browsers
Mac Browsers
If you already have access to a web server (either local or remote) that has the latest version of WordPress installed, with the ability to create new sites on the server – you can use this installation for the course. If you do not have access to an existing installation, or prefer to use a test environment, we recommend downloading and installing DesktopServer, which will install and configure all of the components you will need locally to develop, test and deploy a WordPress site.
To download and install DesktopServer:
- Download the ZIP archive of DesktopServer Limited (free) for your specific platform (Windows or Macintosh) from the download page.
- Unpack the ZIP archive (double-click on Macintosh/right-click, Extract All… on Windows) and run the Install DesktopServer icon. Mountain Lion users should right-click and select the “Open” option from the popup context menu.
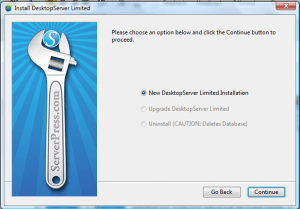
- New users should select the first option ‘New DesktopServer Installation’. Existing DesktopServer users should select ‘Upgrade DesktopServer’ followed by the Continue button.
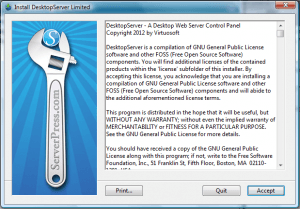
- Click Accept to accept the license agreement.
- Choose “New DesktopServer Limited Installation”
- Once the installer has finished, click the Finish button to Exit.
- To start DesktopServer, find the DesktopServer icon on your desktop or Programs menu and select it. The first time you run DesktopServer, you will need to enable your web and database server. Select the “Yes, Start Apache and MySQL services” to do this and click Next.
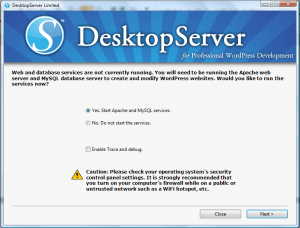
- After the services start successfully, click Next or Continue and select the option to Create a New Development Website.
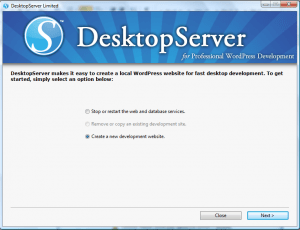
- Make a note of the default site name and location and click Create to accept these defaults.
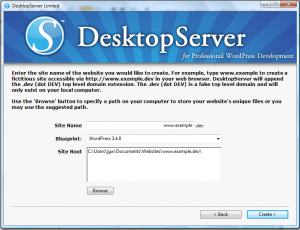
- Once the site has been successfully created, click Next.
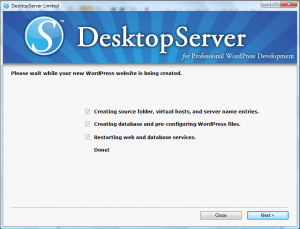
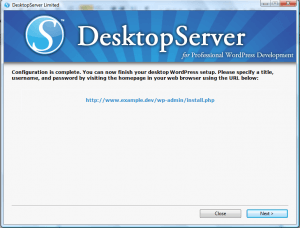
- Click on the link to finish the setup and installation of your WordPress site.
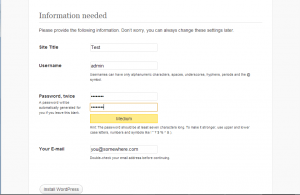
- In the browser window that opens, provide a title for your site, leave the default user name of admin, select a password that you will remember and enter your email address. Click the Install WordPress button when done.
- Click the login button.
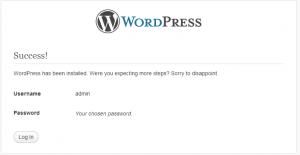
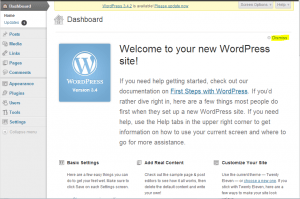
- Enter your user name and password and click login. Click the Dismiss link to dismiss the welcome message. Your setup is now complete.
- Click Accept to accept the license agreement.
* In order to use DesktopServer you cannot have Apache or MySQL already running on your machine. If you encounter any errors during the setup process, please refer to Troubleshooting section.