Creating Fractions, Adobe Photoshop CC 2015.1
Adobe, Photoshop
Photoshop’s Glyphs Panel can create custom fractions.
In a previous post we talked about the newly added Glyphs Panel to Adobe Photoshop CC 2015.1. Now let us take a look at using fractions from this panel.
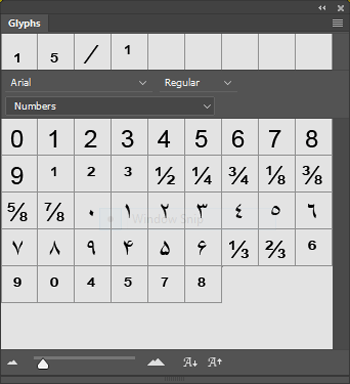
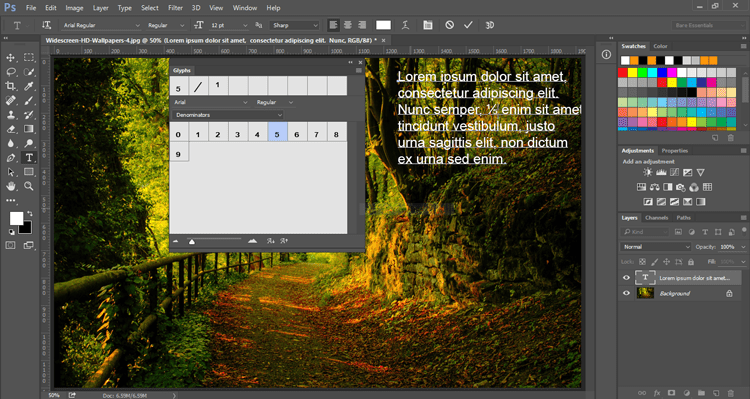
Most fonts will supply a few fraction glyphs like our example using Arial, but you and I both know that those 7 fractions will not cover all of our potential needs. That means we will need to create a custom fraction for our text.
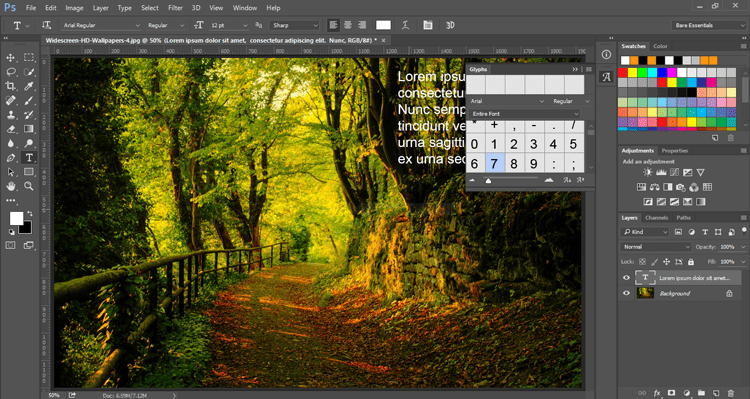
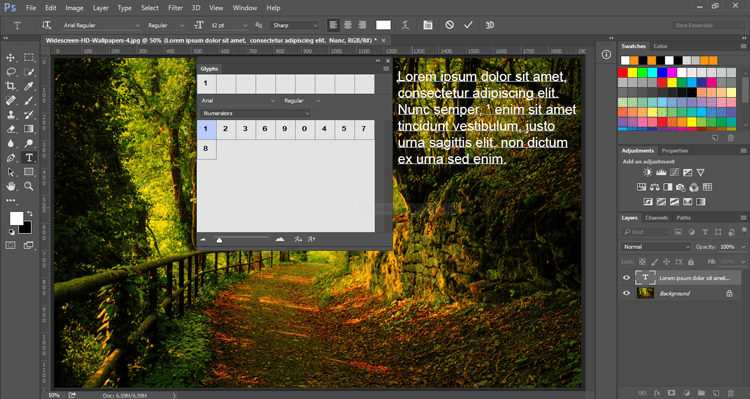
We will begin by opening the Glyphs Panel either from the Type menu, Type > Panels > Glyphs Panel or the Window menu, Window > Glyphs.
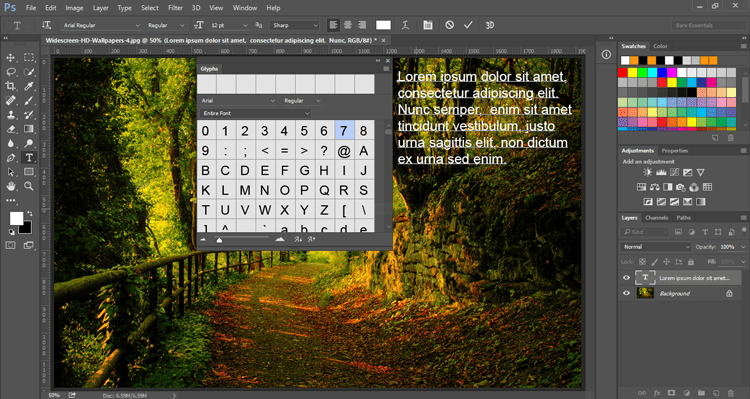
For our example I have chosen to undock the Glyphs Panel and place it to the left of our text. Undocking a panel is as simple as left clicking on the tab with the panel name and dragging it where you would like to use it.
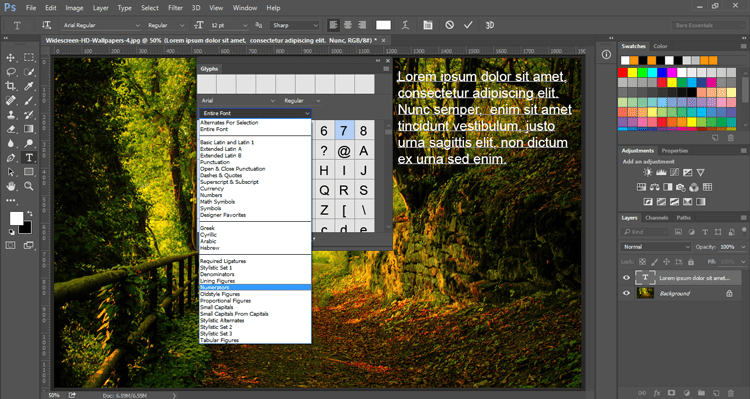
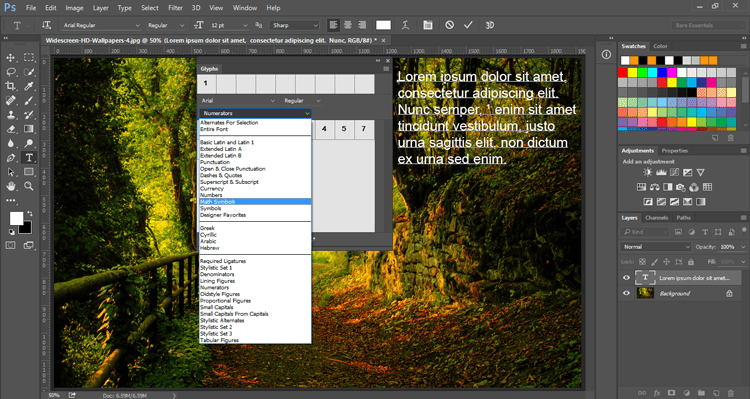
Our next step is to narrow down the glyph choices. You will find a drop-down menu in the center of the panel. We are looking for Numerators.
The only thing we will find within the Numerators category will be numbers 0-9 all classified as numerators or the upper value of a fraction. Double clicking the number you need is all it takes to insert it into your text, as long as your cursor is in the correct location.
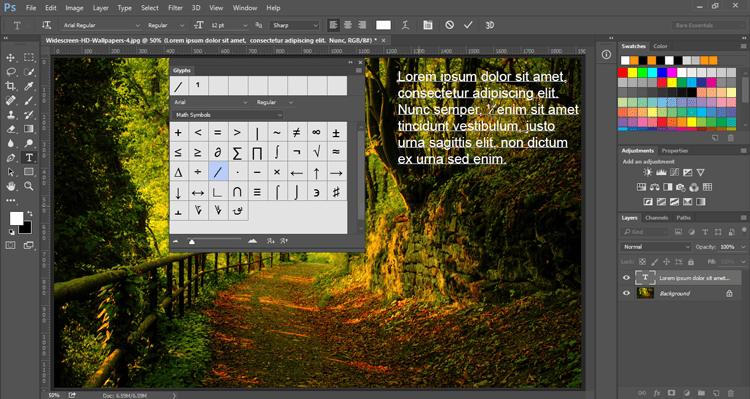
Now we need a slash to separate the top number of our fraction from the bottom number. That can be found in the Glyphs Panel drop-down menu under Math Symbols.
Double clicking the fraction slash will insert it wherever your cursor is.
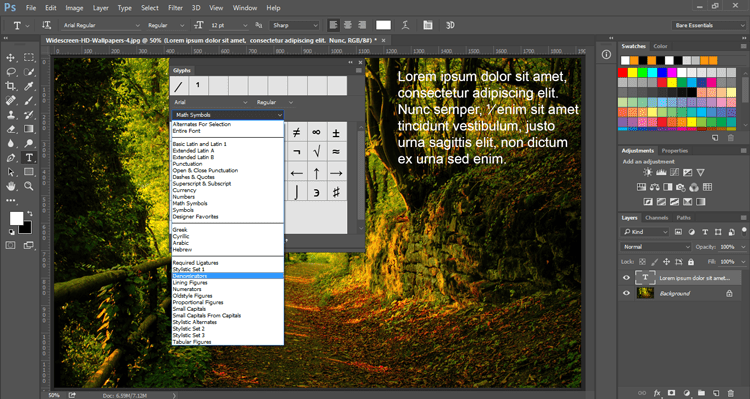
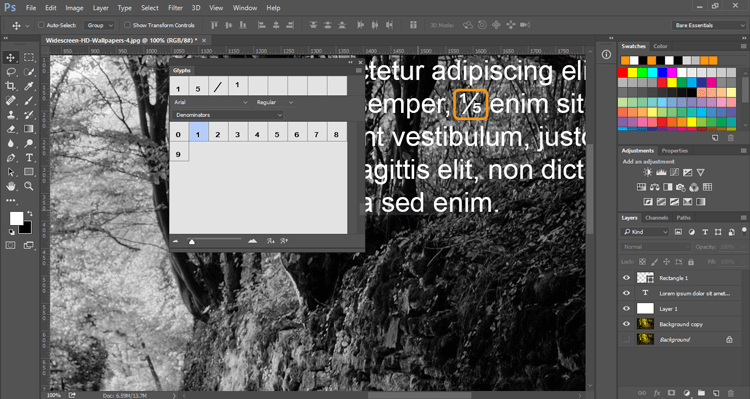
That leaves the denominator, which can be found in the Glyphs Panel drop-down menu under Denominators.
Double click the value you need and as simple as these few steps have been you now have the exact fraction your text requires.
