Creating Maxfield Parrish Clouds Using Photoshop
Adobe, Photoshop
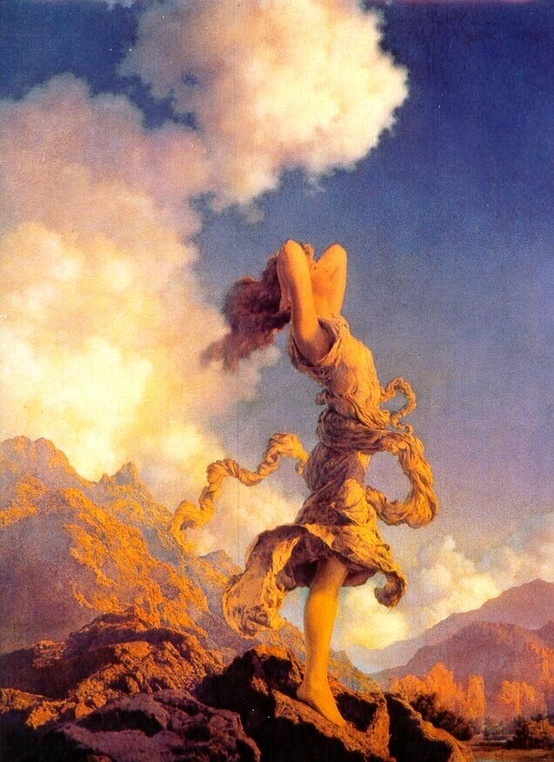
I was recently leaving the parking lot of a local business when the cloud formation in front of me reminded me of a painting by American painter and illustrator Maxfield Parrish. If you are not familiar with his work here is a painting called Ecstasy that was commissioned for the 1930 General Electric Mazda Lamp Calendar. The model was his daughter Jean Parrish.
The clouds I was looking at were beautiful and saturated with color because it was close to sunset. I grabbed my phone, took a picture, and went about my business. Imagine my disappointment when I looked at the photo later that same evening and this is what I had captured.

No worries…that’s one of the many reasons we use Photoshop.
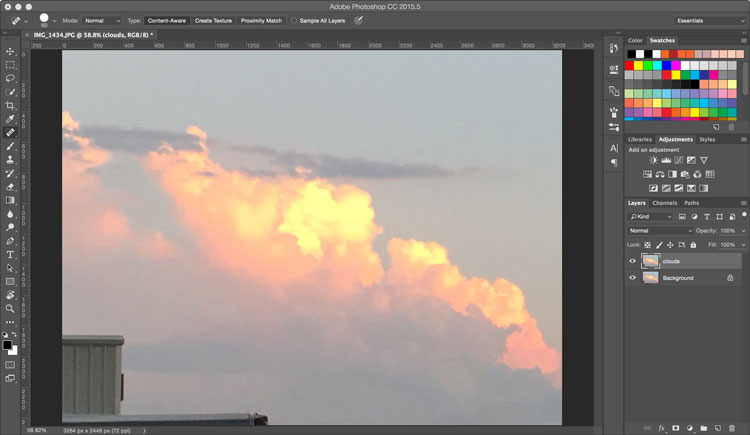
Step number one was to get rid of the power lines, street lights, and poles. My tool of choice was the Spot Healing Brush with Content Aware active. Simply setting the brush size and dragging over sections of the poles and power lines with this tool and next thing you know; unsightly clutter removed.
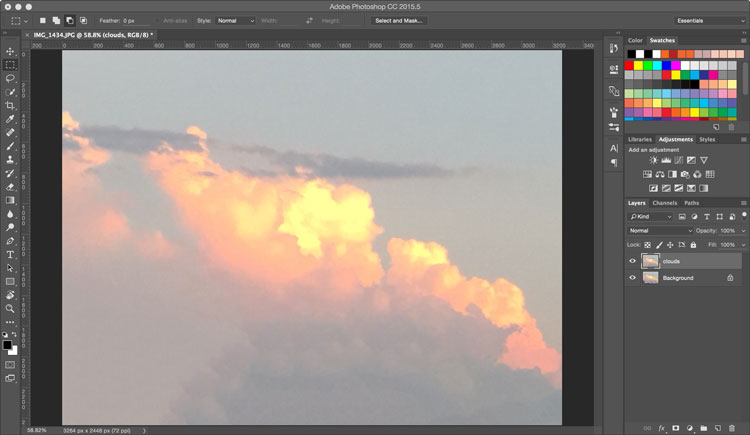
I wasn’t 100% sure how much of the image I wanted to keep so the next thing that needed to go was the building in the lower left-hand corner. Selecting that area with the Rectangular Marquee tool and using Content Aware Fill was all it took. By the way, this was all being done to a copy of the background layer.
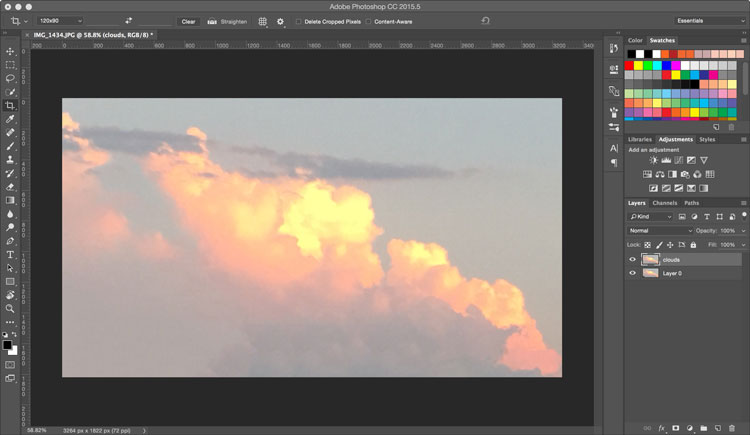
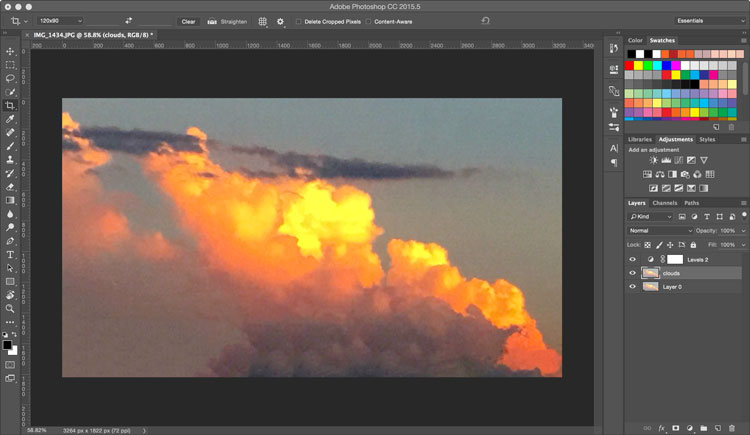
Now it was time to decide what part of the image stayed, and what would be cropped. If you think you might change your mind later don’t forget to uncheck Delete Cropped Pixels in the Options bar. That way all of the image is still available.
Now to enhance the image with one of those layers that almost any photograph will benefit from; a Levels Adjustment. Or some of you may prefer a Curves Adjustment. Either way we are adjusting the tonal quality of the photo. Removing the vale as it were, and tweaking our contrast. At this point I’m 90% there.
One more step and we are complete. Just a slight bump in saturation done by adding a Hue/Saturation Adjustment layer.
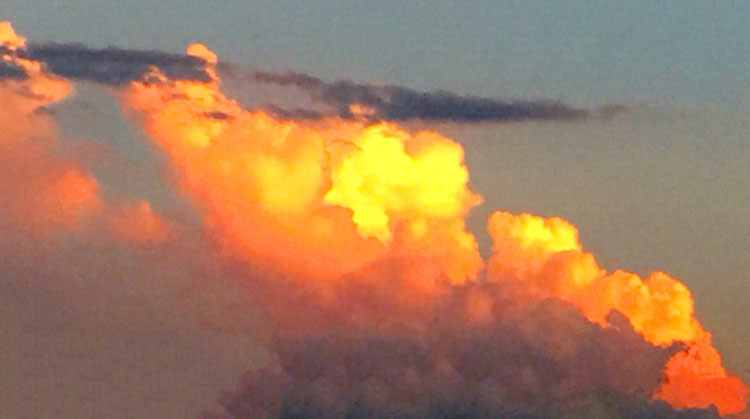
When complete we have a sky that would be the perfect backdrop to any Maxfield Parrish painting. And all it took was a little imagination…and Photoshop.