How to download and install the Angular Command Line Interface (CLI)
Angular, Uncategorized, Web Design
Angular is becoming a very popular JavaScript framework that allows you to create single-page applications (SPAs). It’s backed/created by Google and it’s not too hard to get an app up and running. This post will discuss what you need to install and what you need to do to get the Angular command-line interface (CLI) working so you can begin developing Angular apps.
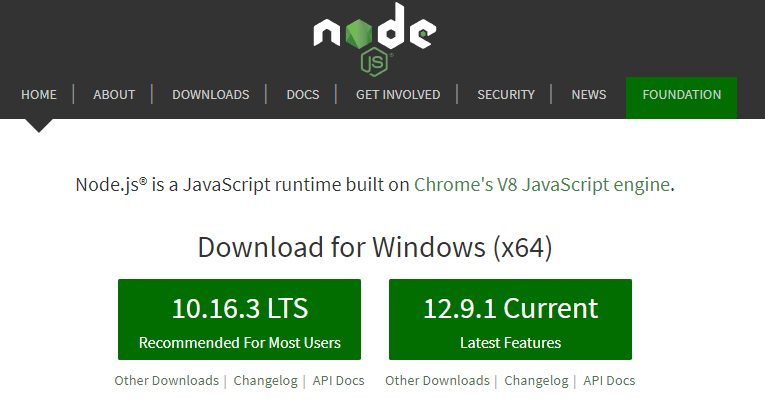
The first thing you’ll need to do is go to nodejs.org
Once you’re there, download and install the “current version”. During the installation, keep all the default settings, you don’t need to change anything.
Once it’s installed you can open up the command prompt by clicking on the start/windows button and type in “cmd”. Click on it when it comes up. Then when inside the window, type
node – v
The version of Node that you installed should show up now. This also tells us that Node was installed correctly:
Then we need to make sure that Node Packet Manager (NPM) was installed as well. This allows you install all kinds of different packages in Node that allow you to add functionalities to your app. To do this type:
npm -v
This will show you the version of NPM that was installed. This should have installed with Node, there wasn’t anything extra that needed to be done:
Now that we have Node and NPM installed we can install the Angular CLI tool that will allow us to create Angular apps. We do this by typing:
npm install -g @angular/cli
This will download/install everything needed to start creating Angular apps and allow us to use the NG command:
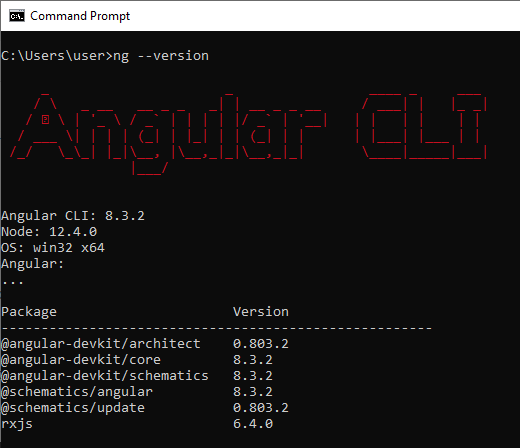
Once it’s finished you can type this in to make sure it installed correctly:
ng –version
This will give us this screen:
Congratulations, you have the Angular CLI installed so now you can begin to create Angular Apps! If you want to learn more, be sure to check out our Angular Training. Thanks and have an amazing day!


