Paragraph Shading in Adobe InDesign CC 2015
Adobe, InDesign, Uncategorized
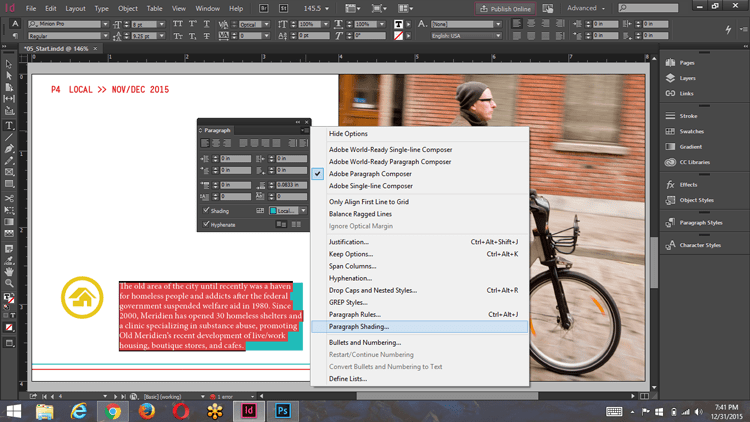
Select only the paragraphs you want shaded.
Having a background color for a paragraph in InDesign has always been possible. Just use the selection tool and set the fill color to the background color of your choice. If there were several paragraphs in the text frame, use the rectangle tool to draw a rectangle the size of the paragraph you wanted shaded. Set the fill color to the appropriate shade and then place it behind the paragraph.
Just remember to group the rectangle with the text frame, otherwise moving one will not necessarily move the other. Do this a dozen or more times within a document and it just creates more pieces to keep up with.
Along comes the June release of InDesign CC 2015 and all this changes…for the better.
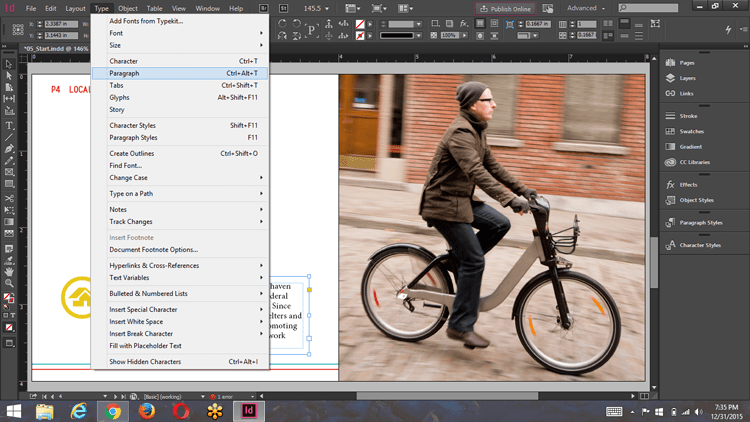
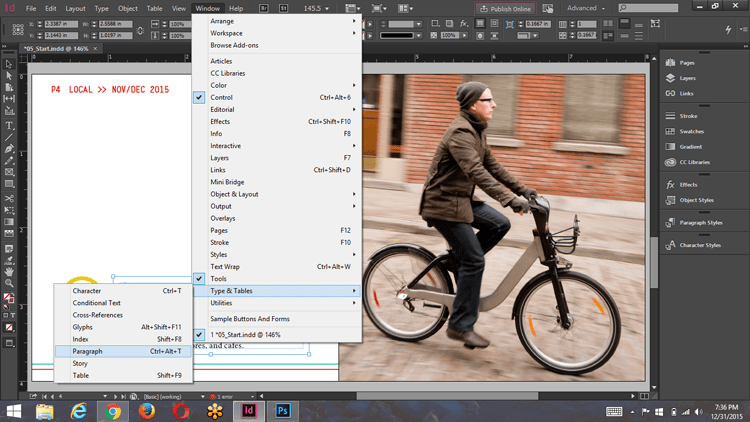
There is a new added feature to the Paragraph Panel that makes this so much easier. Simply use Type > Paragraph, Window > Type & Tables > Paragraph in the menu or the keyboard shortcut Ctrl+Alt+T on Windows or Cmd+Opt+T on a Mac. Any one of these methods will open the Paragraph Panel.
You will now notice a new section at the bottom of the panel with a Shading checkbox and a color drop-down menu. All you need to do is select the paragraph you want shaded, check the box and select a color.

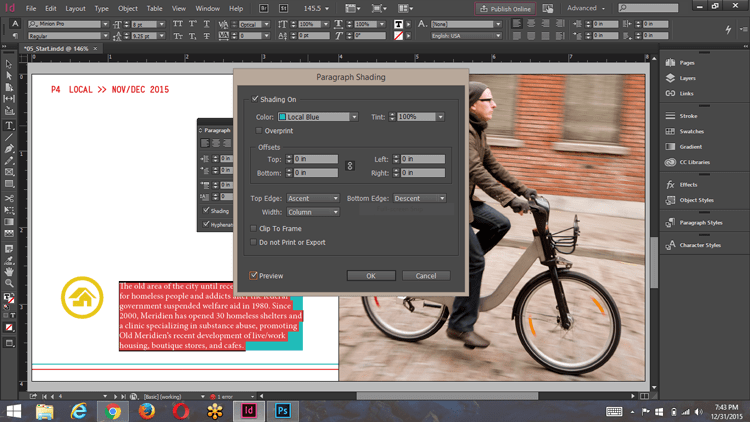
If you need to do any fine tuning there is a separate Paragraph Shading Panel that can be found in the Paragraph Panels menu. Adjustments such as tint, offset in all four directions, and shading alignment with each line, as well as a few others are available in this panel.
Now the shading is part of the paragraph, not a separate piece that we need to keep track of.