Photoshop; Finding an Image Center
Adobe, Photoshop
There are times when it would be helpful to find and mark the exact center point of an image. Let’s discuss a few ways this can be done.
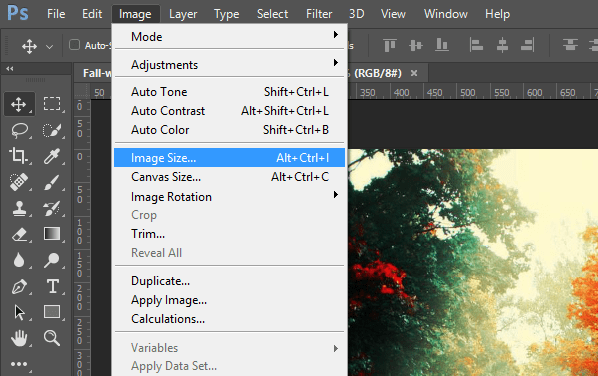
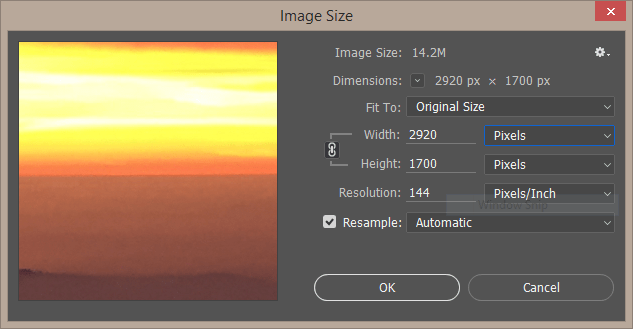
The most manual way of doing it can be done by opening the menu option, Image > Image Size, or using the keyboard shortcut Ctrl+ Alt+ I on Windows, or Cmd+ Opt+ I on a Mac. Using the width and height you can determine the halfway mark and drag a couple of guides into place.
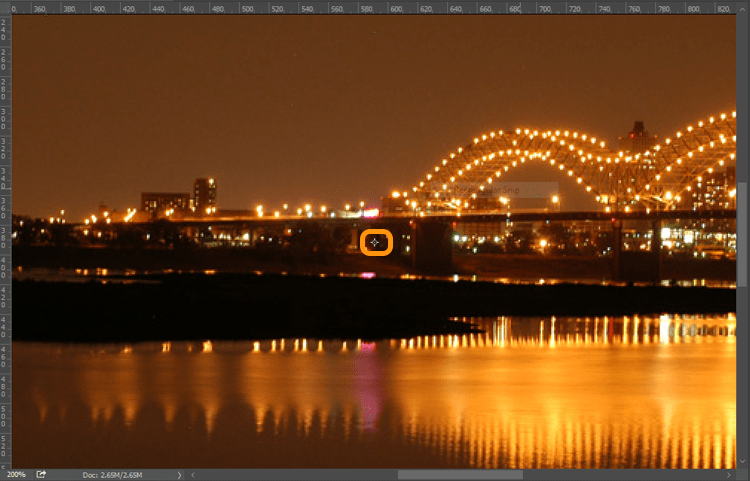
Another way of doing this would be to open the image. Show the rulers either using View > Rulers in the menu or the keyboard shortcut Ctrl+ R on Windows or Cmd+ R on a Mac. Then using the menu option Select > All or Ctrl+ A on Windows or Cmd+ A on a Mac, select the entire layer. Using the Move Tool check the Show Transform Controls checkbox in the Options bar. You should now see a “target mark’ in the center of the image. Drag a horizontal and vertical guide to this position and you are set.
How about a third option? Using the same first two steps as the above method, while the background layer is selected, choose Edit > Free Transform in the menu, or Ctrl+ T on Windows, or Cmd+ T on a Mac. This will show the same “target mark” in the center of the image. Place your horizontal and vertical guides and you are good to go.
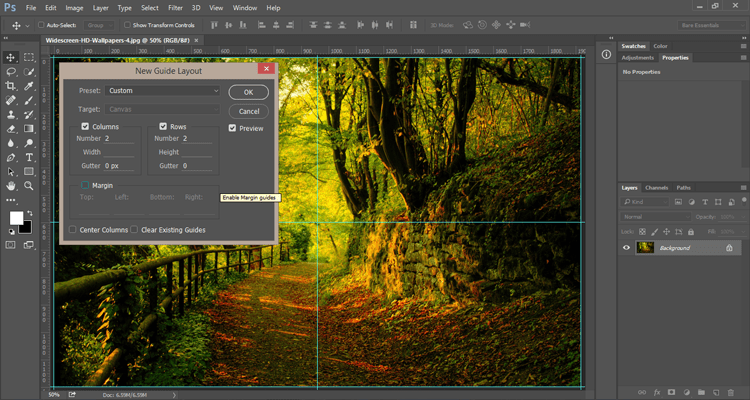
Here’s one last way of showing and marking the center of an image. Using View > New Guide Layout in the menu, select two rows and two columns with a 0px gutter for each, click ok and you are done.
So there you go, four ways to mark the center of an image in Photoshop.


