Photoshop Image Adjustment Layer
Adobe, Photoshop
The art of photography has changed dramatically with the advent of the smart phone. Today everyone is a photographer, and pretty much all of those photographs need some adjustment. Enter Photoshop with the ability to adjust your pictures in a non-destructive way.
The Adjustments Panel in Photoshop includes 16 different types of adjustments that can be applied to your image as a separate layer. By doing this as a separate layer none of the pixels in the original image are altered. The benefit to you of course means you always have your original.
Let’s take a look at two of the most common adjustments: levels, and hue/saturation.
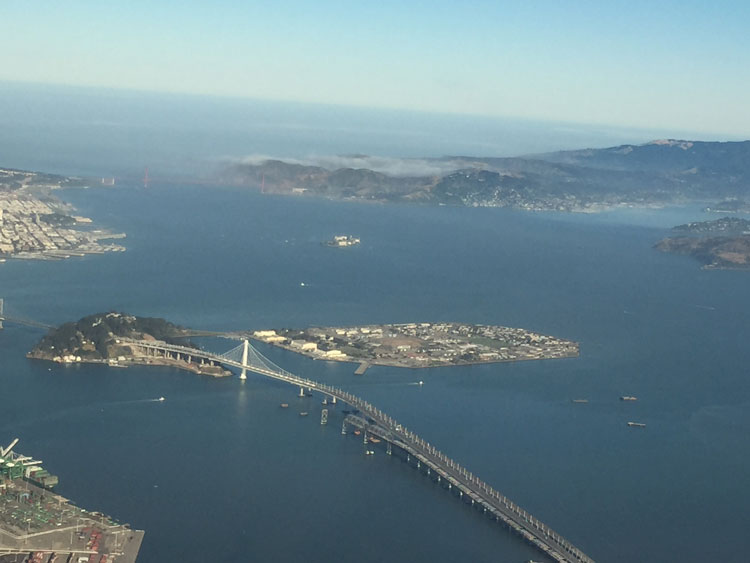
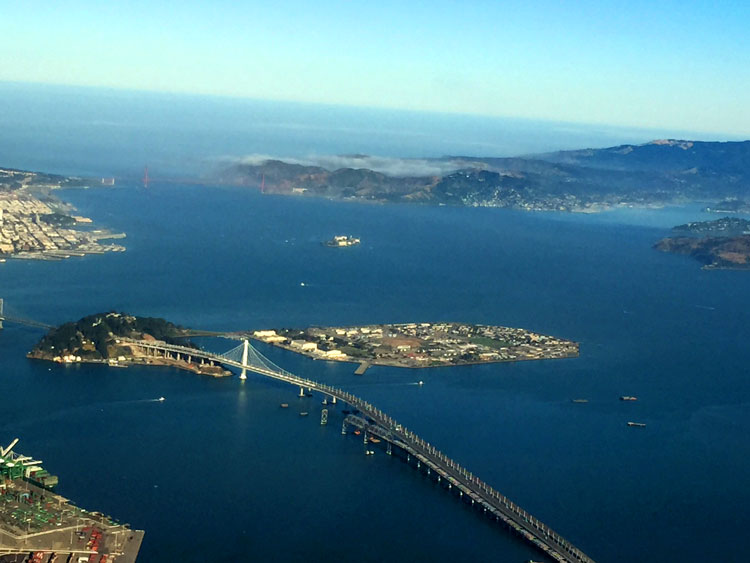
Here is a beautiful image of the Bay Bridge in San Francisco taken from a passing plane. At first glance everything looks great but truth be told it could use a little help.
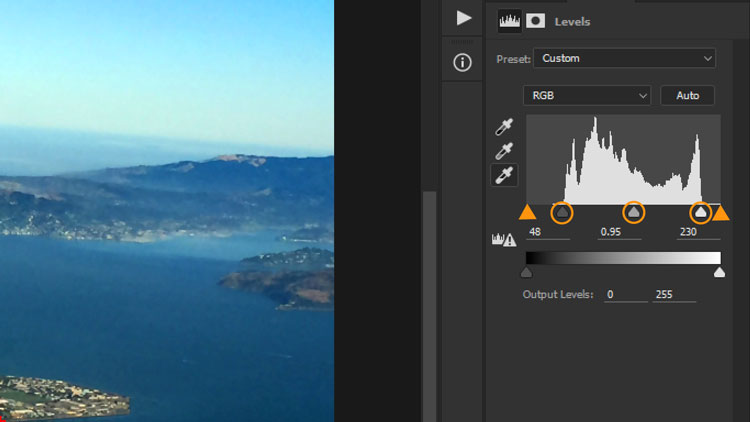
This image shows the histogram, or tonal range of or picture. Notice the two orange triangles on either end. They indicate where black should start on the left side (0) and where white should start on the right side (255). By moving the sliders, the circled options, we have re-established those tonal beginning points. The mid-tone slider has also been adjusted to drop the mid-tone just a touch. The resulting changes have a dramatic impact on the image.
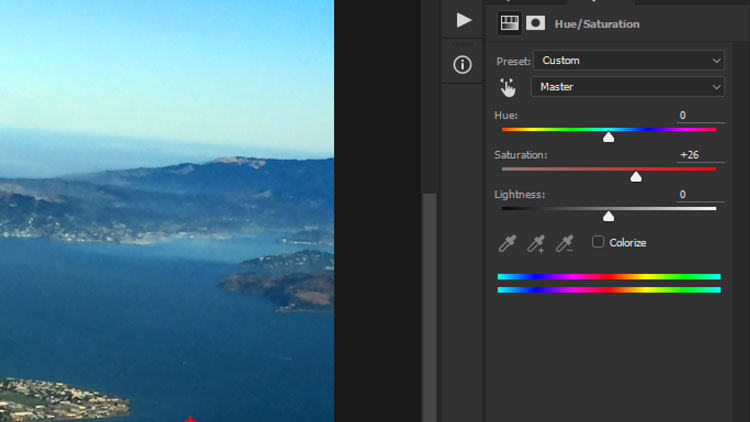
One additional adjustment to our image will be beneficial. We’ll bump the saturation (color intensity) just slightly to improve the coloring in the lower left-hand corner.
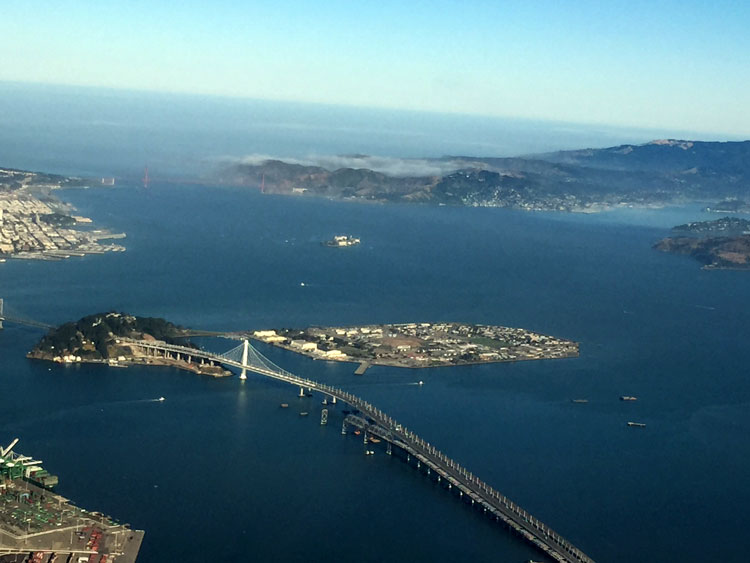
The difference is subtle but just enough to help the image pop.