How to Use the Critical Path in Microsoft Project
Microsoft Office, Microsoft Project
The use of the critical path in Project is a vital part of getting a project to finish on time. This is especially true if any juggling of the tasks, resources, and allocations has to happen once the majority of tasks are in place. It allows refinements to be done where they can have the best effect—what is sometimes called a “force-multiplier” (no Star Wars jokes, please); it simply means to make the most of what one has.
The critical path is that series of tasks in which there’s no slack, time-wise. Think of a group of boxcars on a railroad siding, all coupled together. If another comes down the track, and bumps into them, they all have to move. If the last one is right next to the bumper at the end, there’s only so much maneuvering room. This is sort of the situation on the critical path.
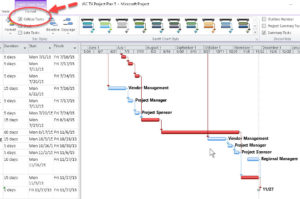
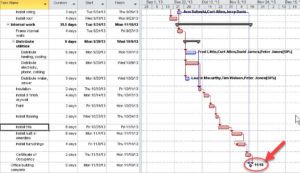
Once a good chunk of the project is there, showing the critical path is easy. It used to involve going through a three- or four-step wizard, but now it’s just turning on a checkbox. The critical tasks turn red on the right side of the Gantt chart—non-critical tasks stay blue. (We can reformat these, if necessary.)
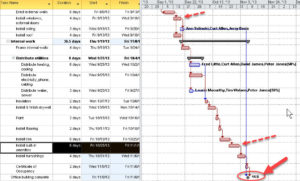
If we start making changes to the project “flow”, any changes not on the critical path may not affect the timeline much, or at all. And this is not good. We want changes to do something—shorten the timeline, or allow two or more tasks to run at the same time, or otherwise make things go more efficiently.
If there are any tasks which we can inactivate, or otherwise fine-tune, again, do it on the critical path. Making alterations to other tasks can be helpful. But this is the place to do it which will have the most effect on the schedule.
To find out more, check out our Microsoft Project classes.


