Using the Appearance Panel in Illustrator CC
Adobe, Illustrator
If I didn’t know better, I’d think someone who worked on Illustrator had a crush on layers. They appear not only in the Layers panel, but in the Appearance panel. There are no less than three places where the idea of layering, stacking, or something similar appears in this program. It’s the Layers panel itself, the idea of Sub-layers, and Appearance.
The latter uses the concept a little differently. This panel shows data only for the object (or group) selected, and it’s things like fills, strokes, effects (such as drop shadows), and so on.
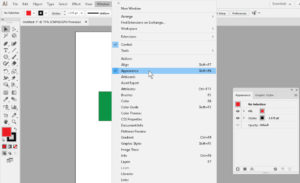
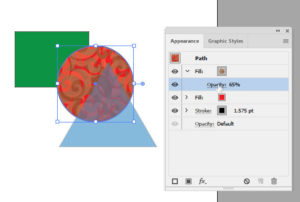
If you have an object selected, you can show the Appearance panel (Window–>Appearance) to see how its attributes are set up. A key point is that the attributes “stack” from top to bottom the way you see them. So having a fill above another fill can block the lower one from being visible.
If this happens, you can adjust, say, the transparency/opacity of the upper to partly show the lower, or change the stacking order by dragging the item up or down as you would any layer, sublayer, or other component, or remove the upper one entirely.
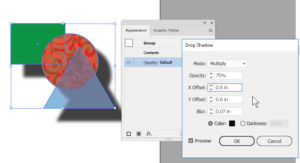
Then, editing the attributes is quite straightforward; clicking or double-clicking on most items will bring up the appropriate dialog box, and from there it’s pure vanilla.
When selecting a group, any attribute you change, add, or remove in the panel affects the group as a whole. To affect one member, you either have to ungroup and select the item in question or otherwise narrow the selection down. This is the kind of step-by-step mindset one has to develop working with these kinds of programs, but it’s not hard to do.
The normal issue one runs into in doing all this is keeping track of where to go to do what. Changing layers and stacking order of objects and groups happens in the Layers panel; changing the attributes of objects or groups in the Appearance panel. Jotting this sort of thing down initially can help.
To learn more, try out our Illustrator training.


