How to Restore Pictures in Photoshop—Easy Fixes
Adobe, Photoshop
Although the restore and cleanup business is not quite as much a boom thing as it was when Photoshop first came out, it still comes up. Detailed restorations take time. But there are things you can do to get some problems solved without too much trouble.
The most common problems with most older photos have to do with age. Images yellow or fade with time, in which case doing a restore implies color correction or improving saturation. Others involve fading of contrast, or having areas too light or dark to see detail in. Recognizing the main problem(s) more or less on sight is often the key to the solution.
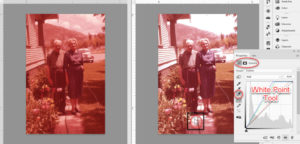
One is correcting the white balance—getting rid of discoloration from time, or sodium lights, or greenish fluorescent light, so the parts that should be white, are white. You can start by adding a Curves adjustment layer and using the White Point sample tool, sometimes known as the White Balance tool. This lets you tell the program what parts of the picture should be white, and has the rest of the picture recolor accordingly.
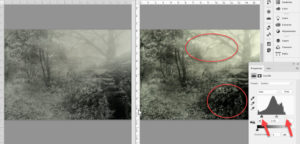
You can also add a Levels adjustment layer, to restore or bring back contrast. If the histogram in it shows blank spaces at either end, move the white and black threshold markers inward. When they reach the beginning of the non-blank space, the image should look less flat.
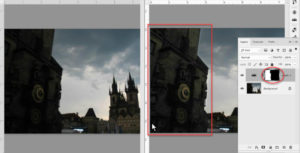
We can also bring out detail in a dark area, or a light one. For this we use a Levels layer. Select the area you want to lighten or darken, then add the layer; selecting first will define, or mask, the area, and you can then adjust only the parts which need it. (Shh—this is one of the Secret Awesome Inner-Circle Techniques for doing a restore in Photoshop. We have the ability to selectively adjust parts of the image. The only downside is having to learn to do careful selection.)
To go in depth, check out our Photoshop training.


