HTML5 Basics – How to create a basic HTML5 document
HTML5, Web Design
Video of this tutorial:
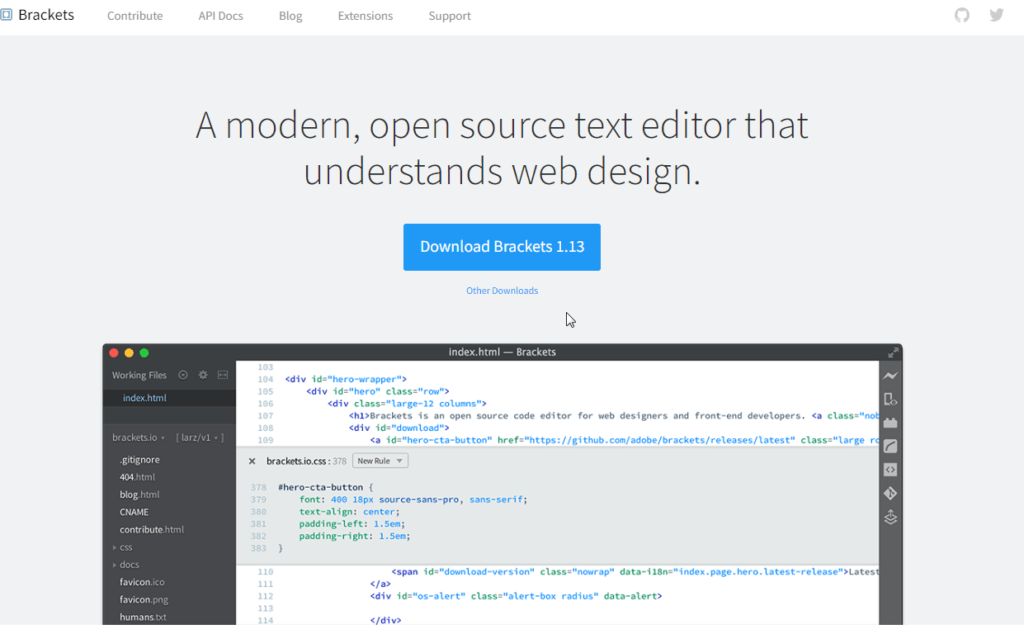
Hello everyone! In this post today I’ll be showing how to create a basic HTML file using my favorite text editor Brackets. Brackets is great because it’s free, cross-platform, and has some really nice features when using HTML5. Here is what their home page looks like:

The first thing you’ll want to do is download and install Brackets or whatever editor you want to use. If you really wanted to, you could use good ol’ Notepad in Windows and that would work fine. Once it’s finished installing, open it up and ignore any text/code that may already be there. We want to start from scratch so click on File and choose New or Ctrl-N on a PC or Command-N on a Mac:
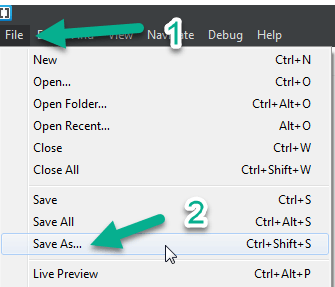
Now you should have a new/blank file to work with. Next thing you’ll want to do is save it as an HTML file. To do that click on File again and choose Save as…
The next part is REALLY important. Make sure to save this file with a .html extension. That means when you name the file, be sure that it has a .html at the end. For example, if I were to name this iLoveHtml I would need to make sure to call it iLoveHtml.html like so:
Now that it’s been saved as an HTML file, we can create the code that will make it function as a webpage. HTML uses tags or elements to insert things onto the page. Tags always have an opening less than symbol <, then some word, then a closing greater than symbol >. For example, there is an <img> tag that will insert an image on the page and there is also an <a> tag that will place a link. Some tags need to be closed as well. Those are always created by using a less than symbol < followed by a slash /. Here is an example of the opening and closing title tag with text in between:
<title> I am a title </title>
Using all of these different tags or elements, you can start to create your own webpage. Let’s start by creating the structure every webpage has to have. Type the following into the file opened in Brackets (don’t worry about what this means yet, we will cover that below):
<!DOCTYPE html>
<html>
<head>
<meta charset=”utf-8″>
<title>My First HTML Page</title>
</head>
<body>
Hello, I am a webpage!
</body>
</html>
Once you’ve typed this out be sure to save it by clicking on File Save or by pressing ctrl-s on a PC or command-s on a Mac. If you don’t save the file, you won’t see the changes you’ve made. Once it’s been saved congratulations you’ve created your first basic webpage. To test your HTML and see what you’ve created, click on the lightning bolt button in the upper right-hand corner. **NOTE** Brackets is dependent on Chrome to run these files so you will need to download it to be able to test your code. Here is what the button looks like:
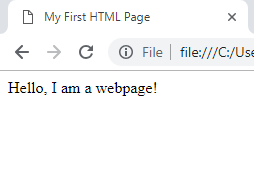
Once it launched in Chrome, your page should look something like this:
If there are any issues and it’s not working correctly, be sure to go back and make sure you’ve spelled everything correctly and that there is no red in your code inside of Brackets. Red means there’s an error in the code. Once you’ve got it working we can explain what each part is doing. We will start from the top and go down from there:
- <!DOCTYPE html> – this tells the browser what version of HTML is being used. This is the HTML5 Doctype
- <html> </html> – these are the opening and closing html tags. Everything on the page should be inside of these tags
- <head> </head> – these are the opening and closing head tags. These tags usually contain other elements that don’t display anything to the page like the title, meta, script, and style tags.
- <title> </title> – these are the opening and closing title tags. They always go inside of the head tag and they define the text that shows up on the tab area in the browser. They are also very important for search engine optimization. You’ll want to make sure all of your important keywords go inside this tag.
- <meta charset=”utf-8″> – this meta tag is required if you want to have your HTML5 code validate. This is defining what character set is used by the page. Utf-8 is a character set that contains most of the characters for all the different languages on the planet.
- <body> </body> – these are the opening and closing body tags. All the content like images, links, text, etc. go inside of the body tags
Well, there you have it! Hopefully, that gave you a better idea on how to start coding using HTML. If you want to learn more consider taking one of the HTML/CSS courses taught by SkillForge. You can get more information it by clicking here or on the image below:

Have an amazing day!


