Using the Layers Panel in Photoshop–Tips and Tricks
Adobe, Photoshop
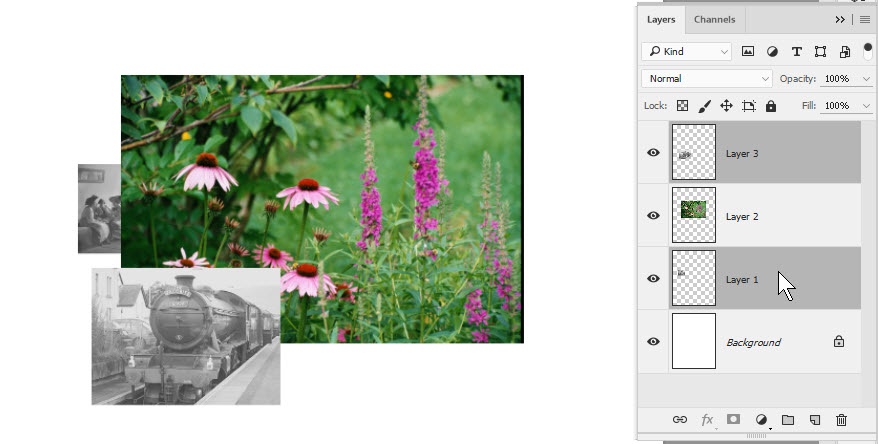
The Layers panel is one of the most important members of the team. A lot of what goes on in Photoshop is related at least partly to which layer(s) you’ve selected. Or want to select to do stuff in. So paying attention to this, and knowing a few things, will save you some work, and a little stress.
Unlike in its brother programs, Illustrator and InDesign, layers serve a vital function here—anything in a Photoshop layer is basically oil paint that never dries. So keeping things on separate layers till you’re SURE you don’t need to is good procedure.
Before painting, clone stamping, erasing, or anything else, especially if you’re in the middle of an important project, glance over to see which layer you’re about to affect. You can easily select the right one by clicking its name once.
If you want to merge two or more layers, you can easily select them, even if they’re not adjacent, by clicking the one’s name and control/command-clicking the other(s). Remember, merging layers normally sort of “collapse” such that whatever’s on top, in the middle, etc. will stay looking that way when done.
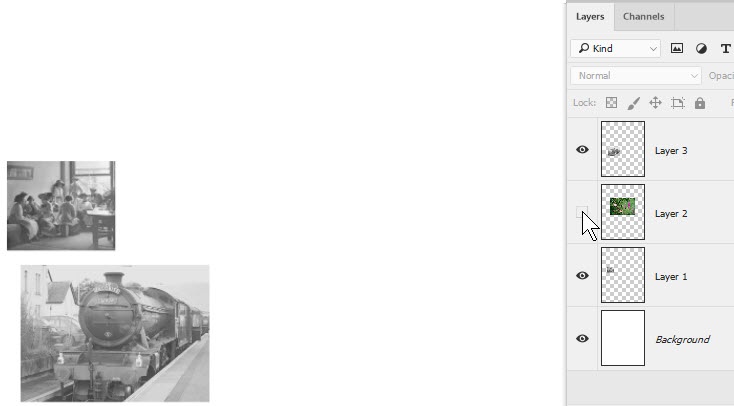
Turning off a layer’s visibility is an easy way to avoid editing it when you don’t want to. Click the eyeball on the left of the layer name. But don’t forget to turn visibility back on when you *do* want to edit.
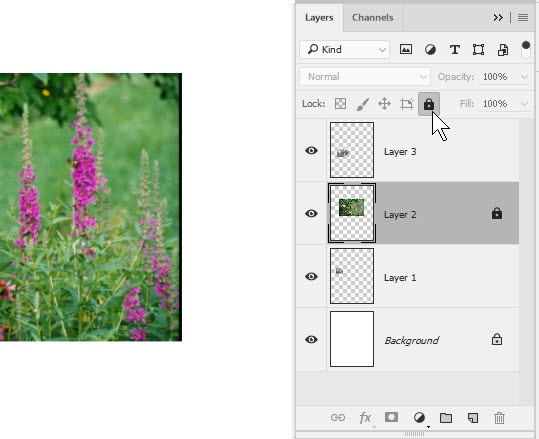
Locking a layer is a better way to avoid editing. Especially if you want to see how the layer interacts with its buddies while working in the others. You can lock the image pixels, the transparent pixels, the position of the layer, or all of the above (usually the most common) with the buttons at the top of the panel. Just remember, you need to unlock before editing. Duh.
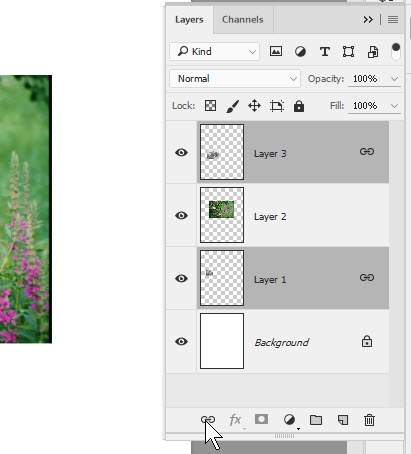
Linking layers together provides a useful capability. If two or more need to be positioned just so, relative to each other, do the positioning, select them, and link with the button at the bottom of the panel. If you then move one, you’ll move all. Unlinking them is easy too. Same button.
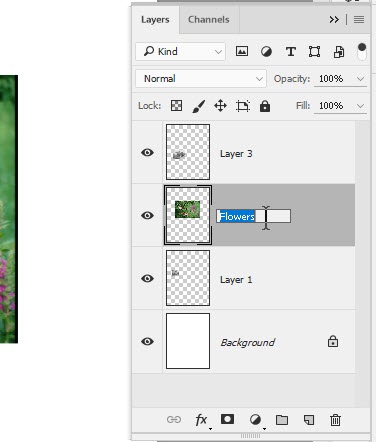
Renaming them is easy—double-click the current name, type what you like, and hit Enter.
Finally, remember Photoshop creates new ones whenever you copy and paste, or cut and paste, or pretty much anything and paste. It’s conservative about this, so you don’t smear the “paint” from different elements together. Which means you can accumulate a LOT of layers. In fact, as far as I know, there’s no limit to the number you can have. (I got bored and stopped counting at two hundred and twenty.) So don’t be afraid to merge them when you finish with separate elements—they add to the file size. And don’t create them just for the heck of it—again, the file gets bigger when you do this.
To learn more tips and tricks, try out our Photoshop training.