Creating Alpha Channels in Photoshop
Adobe, Photoshop
Making selections in Photoshop is fairly easy, but a large, complicated selection can take some time. And if it’s an area that needs repeated tweaks, such as for color balancing or lightness, it’s helpful if one doesn’t have to keep going back and reselecting thirty or forty bits and pieces. There’s a feature in Photoshop which can help, but seems almost hidden, in the Channels palette/panel.
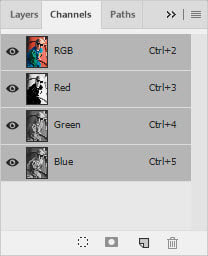
Normally, we see the composite channel there (showing the full color image) and the individual color channels (RGB or CMYK, or other). Even these be manipulated if desired. But we can also store selections in there, in a form called an alpha channel.
The use of the feature is quite straightforward. First, make whatever selection you need to. You can switch from selection tool to selection tool, changing modes as needed, till you get the entire area you need.
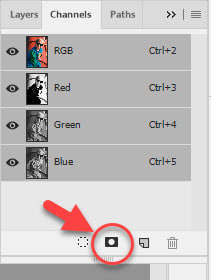
Then, at the bottom of the palette, click the Save Selection as Channel button.
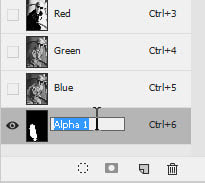
You can easily rename the channel by double-clicking its name. It’s a good idea, since it’s possible to have something like fifty channels in the palette. And even if none of the selections closely resemble each other, it’s less confusing, and very little additional work.
But what’s even more interesting is, you can fine-tune the selection in the channel by using a painting tool. If you activate the selection (alpha) channel by clicking its name, then select, say, the Brush tool, you can use the color white to add to or solidify the selection if you missed a couple of spots. Or black to unselect areas you might have selected by accident.
And zooming in to do this carefully is a good trick too. Some people find this is easier for making selections, or at least cleaning them up. It does take a little more time. But since precise selection is often important to professional imagery, any technique to improve the precision is a good thing.


