Feathering a Selection in Photoshop
Adobe, Photoshop
One of the must-have skills in Photoshop is the ability to make precise selections, since we indicate which parts of the picture we want to work with this way, and there are a number of techniques to do it. But equally important is the ability to feather, or “fuzz” the edge of the selection. Very few normal photographs are going to be so supremely razor-sharp in focus that a selection needs to be also, and even those that are will often not be super-high-resolution (that is, naturally a tiny bit fuzzy) anyway. Aside from any specific effects you want to achieve….
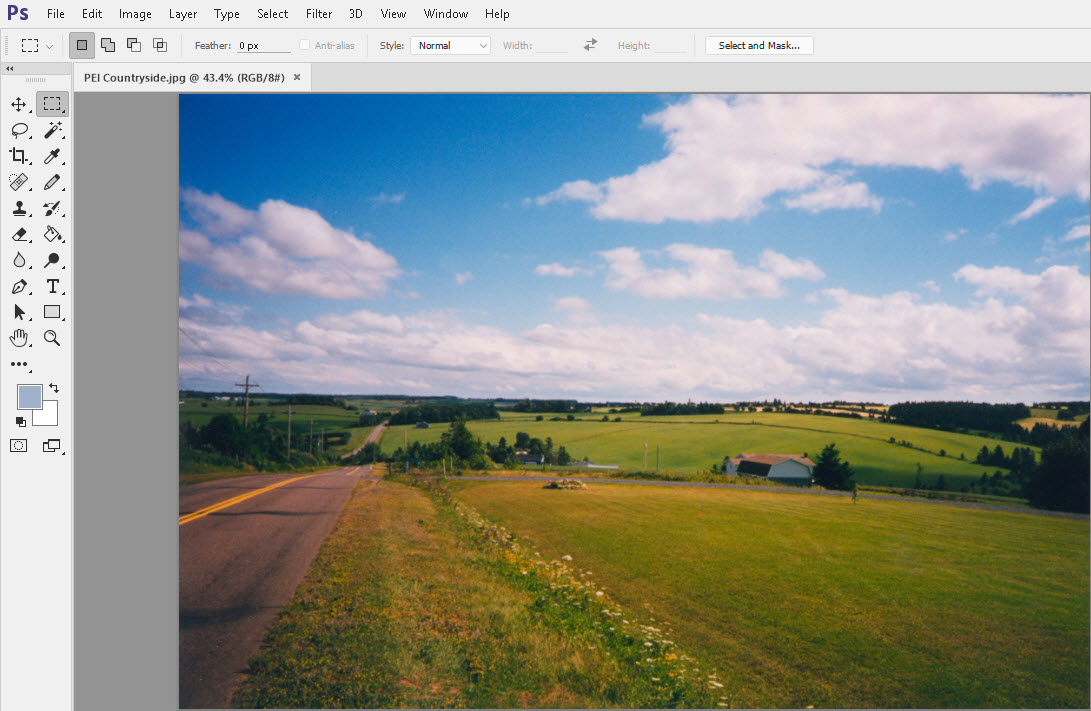
Once you open your file, you can start by making a rough selection with any tool. The Magic Wand or the Lasso would do. Then, either hold down the Shift key or select the Add to Selection button in the tool’s Options at top, and click or drag as needed to add the bits you want. (I admit I like the Magic Wand for a good many items, as it lets me make color-based selections quickly.)

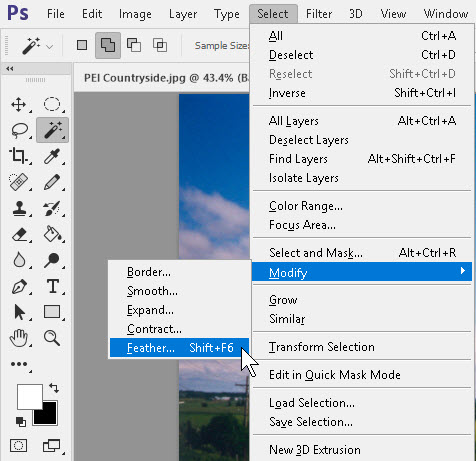
Then, having made and fine-tuned the selection, we go to the Select menu, slide down to Modify, and click Feather in the submenu.
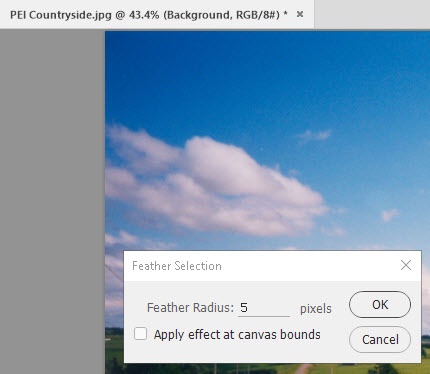
The number of pixels of feather you want to use will depend on a few things. First, resolution of the image (the higher the res, the lower the feather number). Second, the area you selected (larger selection=lower feather, generally). Finally, what you want to do with the selected area (you tell me 🙂 ). For things like tinting, a lower number is usually better as you don’t want it to look like smeared paint. For blending effects like softening filters or other non-color-related ideas, a higher number would be good to soften the edge. With romantic-portrait-type photos, for example.
It’s a simple effect, but a powerful one. And it doesn’t take too much practice to get a nice result. Besides, you can make a copy of the layer in question and play around with it till you get a good combination. Then you can apply it to the final draft.
For more information, have a look at our Photoshop training classes.