Using Guides for Line-Up in Adobe InDesign
Adobe, InDesign
Although some people don’t think it’s vital, lining page elements up neatly—for which guides are very helpful—in Adobe InDesign can make a big difference in the final product. The eye is a better instrument than some people think. And visual neatness can greatly reduce perceived “clutter” in a document.
Luckily, the process is very easy, and the program gives us a couple of simple but powerful tools to help. Once we have our page elements in place, we can drag guides right out of the rulers. You can place as many as you like, anywhere, on any page. They don’t print unless you tell the program to, so it’s no problem to leave them in place.
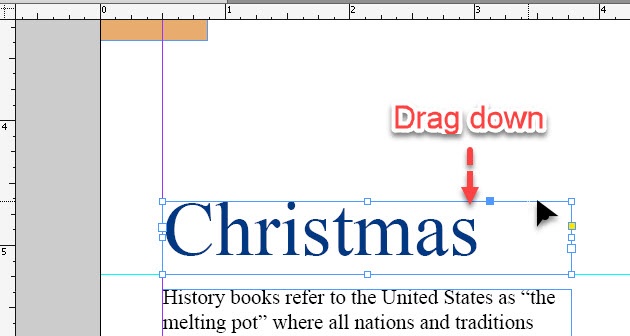
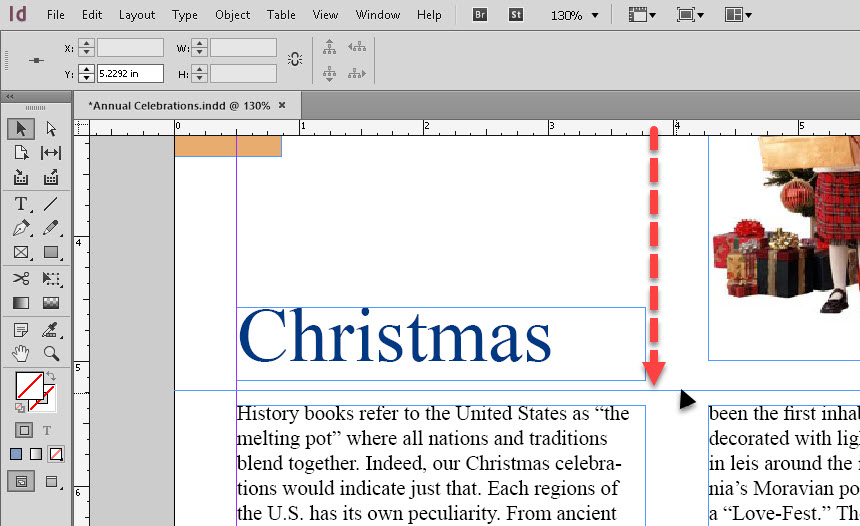
The next thing is to move the elements into place using the guides. Since we often need precision when we use guides, the best thing is to click an item with the Selection tool (black arrow), then use the arrow keys to nudge an element into place against the guide(s). Holding down “Shift” when pressing an arrow key moves it ten times its normal distance. Holding down “Ctrl” and “Shift” when pressing an arrow key will move it one-tenth of its normal distance.

But two particular commands in the View menu->Grids and Guides make them even more helpful. Firstly, “Lock Guides” means they won’t go anywhere—you can’t move them by accident. “Snap to Guides”, the other, is pretty awesome, though. If you move an object close enough to a guide, the object will “magnetically” move over so its edge touches.
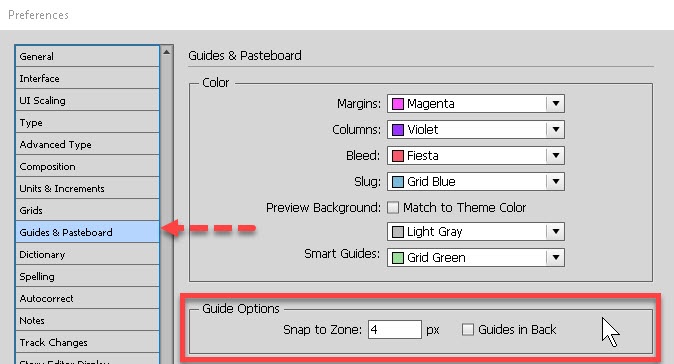
The “snap-to” distance can be controlled from the Preferences->Guides & Pasteboard command. Usually the default, 4 pixels, seems to be a good starter.
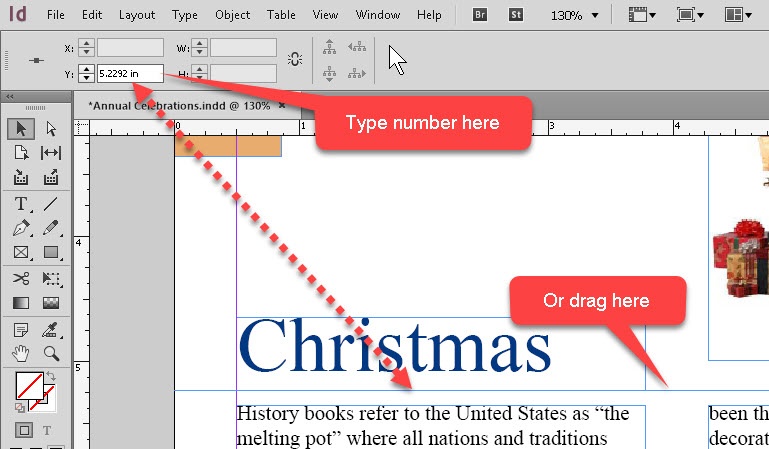
Another thing which helps is, we can select them with the Selection tool, look in the Options panel at top, and type in their position with literally four decimal places’ precision. (Yes, ten-thousandths of an inch, if needed.) They change color when selected, so you can tell when they’re active. Might be a good idea to do the adjustment and locking first, then move things to them.
For more on InDesign and the other Adobe programs, take a look at our Adobe InDesign courses.