Using the Gradients in Photoshop—Additional Info
Adobe, Photoshop
In an earlier post, I went through the basics of creating gradients in Photoshop. In this one, I want to mention a couple more details which might be helpful in their use.
There are five patterns, or appearances, which gradients can follow, shown to the right of the Gradient Editor in the Options panel. The one we use most, Linear, makes the color pattern appear as bars, or bands, in the selected area. But the others are potentially quite useful, and not just for decor. One selects the gradient and pattern, and drags from point A to point B, just as with Linear.
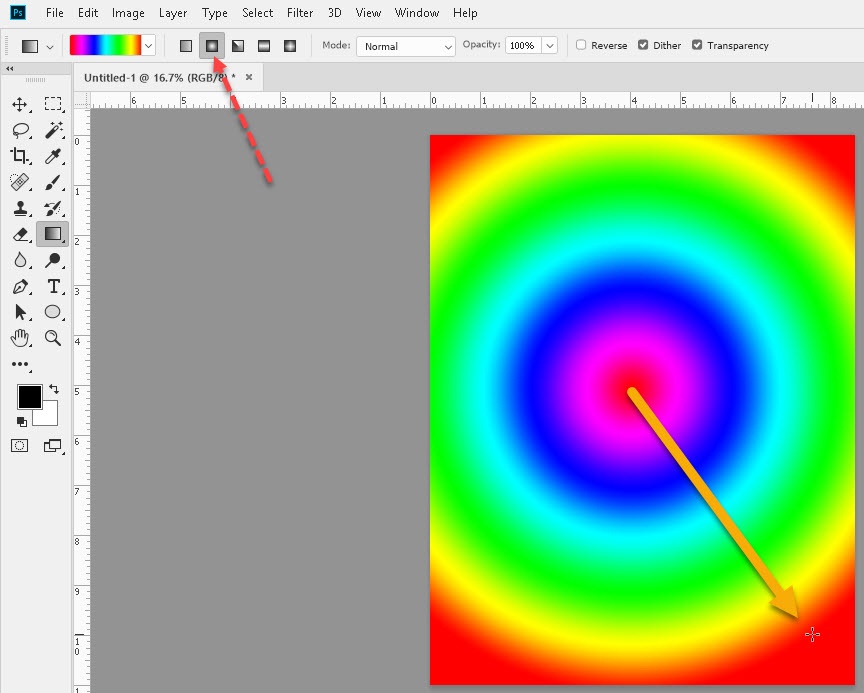
The Radial gradient is a “sunburst”, the leftmost color in the center and moving outward in rings. This has been used with several real-life concepts, e.g. distances from the center of a city for travel purposes.
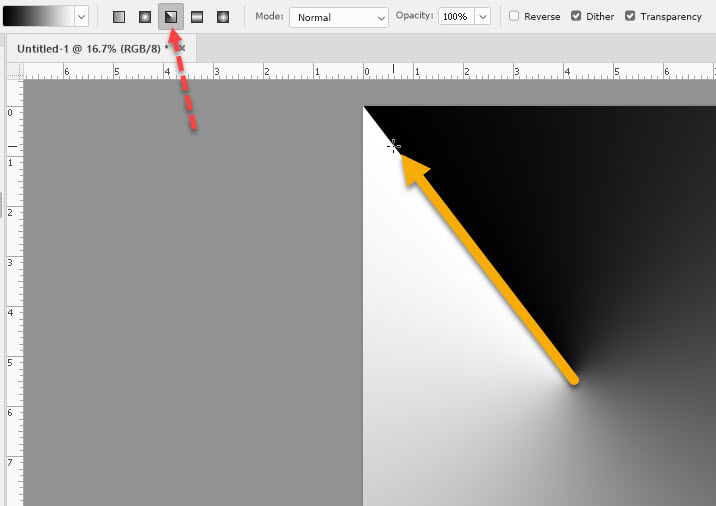
The Angle gradient uses the direction of the drag to create a “wheel” effect. The starting color is on one side of the drag line, shading around in a circle to the ending color on the other side of the same line. This can create an object-lit-on-one-side effect by having black and white as the starting and ending colors. It’s often employed as sheer decoration. Of all the gradients, some people consider it the prettiest.
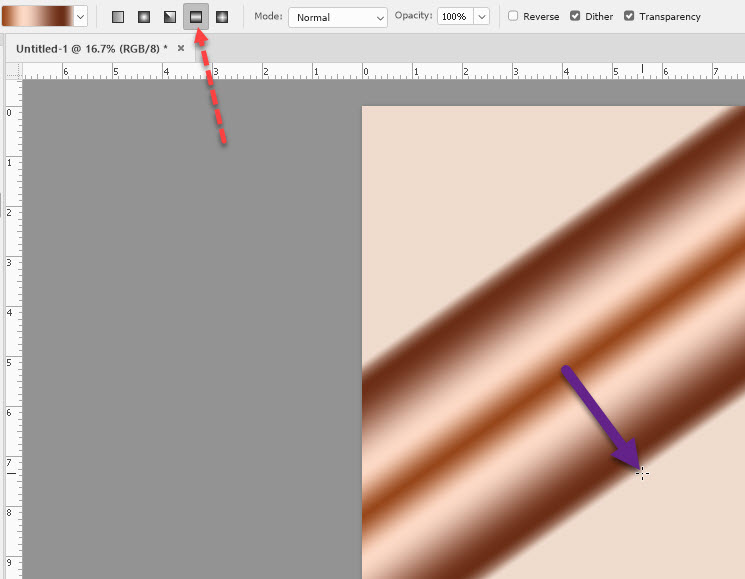
The Reflected gradient can do something interesting: Using metallic colors with it creates the illusion of specular, or pinpoint, highlights on metal. The “reflected” part indicates that the drag start point becomes a “mirror”. It becomes two “reversed” gradients, in bands centering on the start of the drag, a kind of “double linear” gradient. (One must therefore allow about twice the width of the drag for full visibility.)
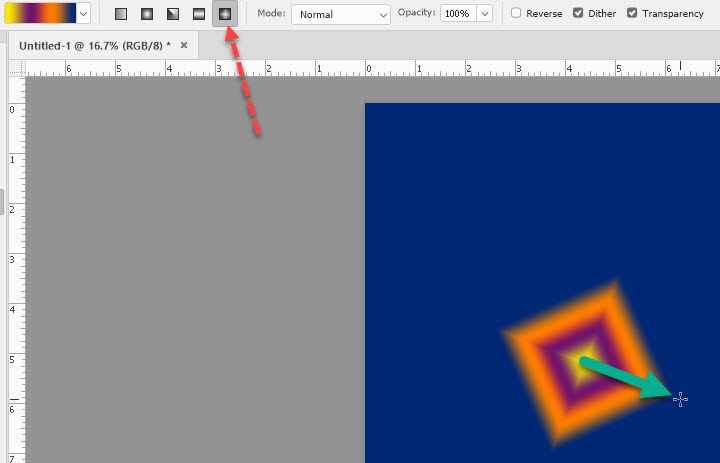
The Diamond gradient makes the direction of the drag become one of the four points of a diamond version of the Radial gradient. Distance of drag works similarly as Linear. The start and end of the drag mark the extent of the color, and continue the last color out as far as possible.
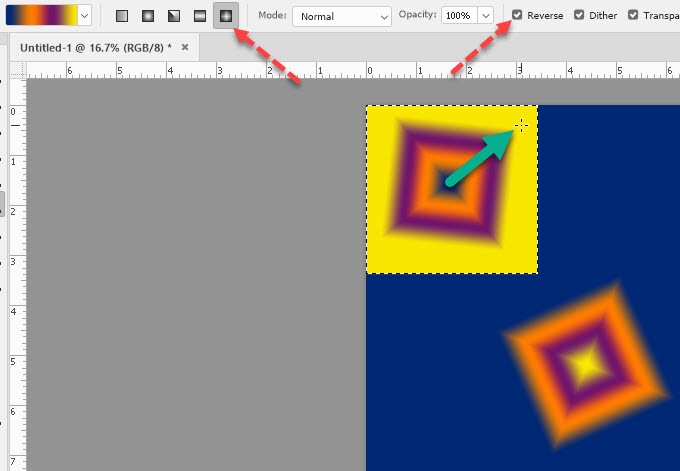
Finally, one other element which occasionally comes into play is the Reverse checkbox in the Options. It reverses the direction of the gradients—start color and end color will flip around.
And don’t forget there’s an Opacity control in the Options, too.
For more on Photoshop and the other Adobe programs, check out our Photoshop classes.